Adding tags
There are two main ways we can add tags to a variable: using the Variable Manager or using a Step in the Recipe.Using the Variable Manager
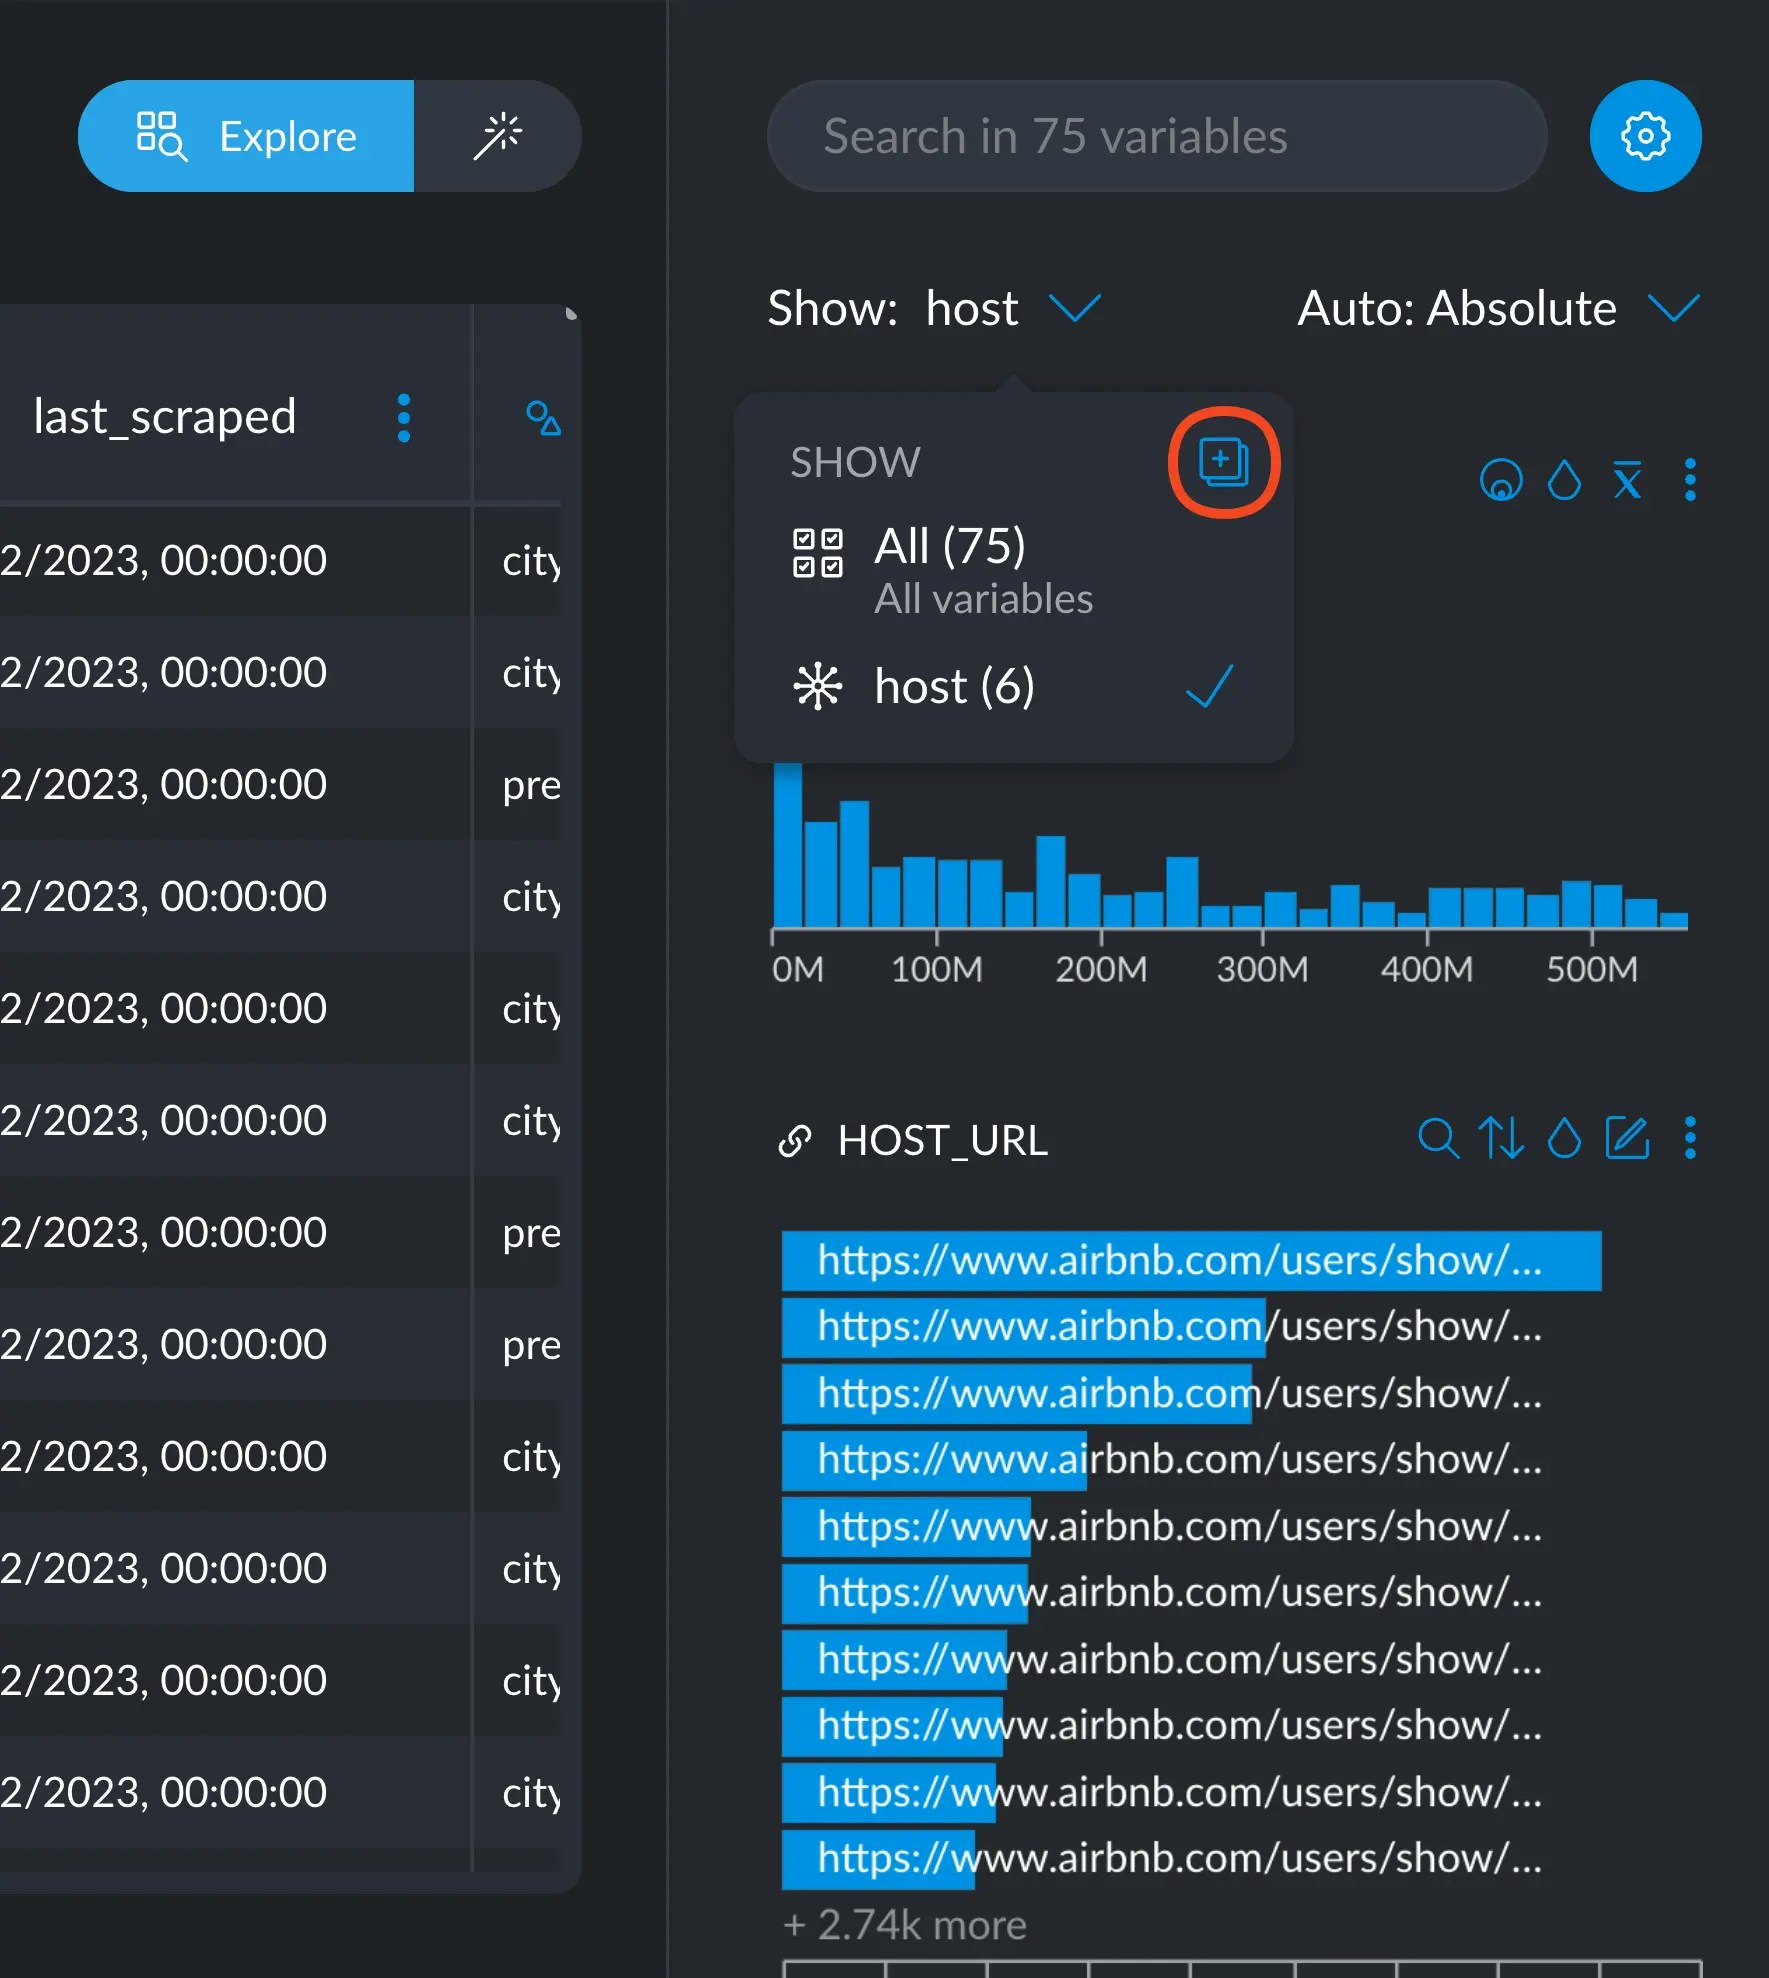
Here’s an example where we create the “host” tag in one variable, and then select multiple variables to apply the tag to all of them in one step.As a Step in the Recipe
The step configure_tagged_columns will allow you to tag every column passed with a tag of your choice.Using the tagged columns in the recipe
Sometimes it’s useful to process all the columns belonging to a tag using a step. You can copy all variable names belonging to a particular tag by selecting the tag itself and then clicking the button in the upper right corner of the pop-up.