How to create a new project
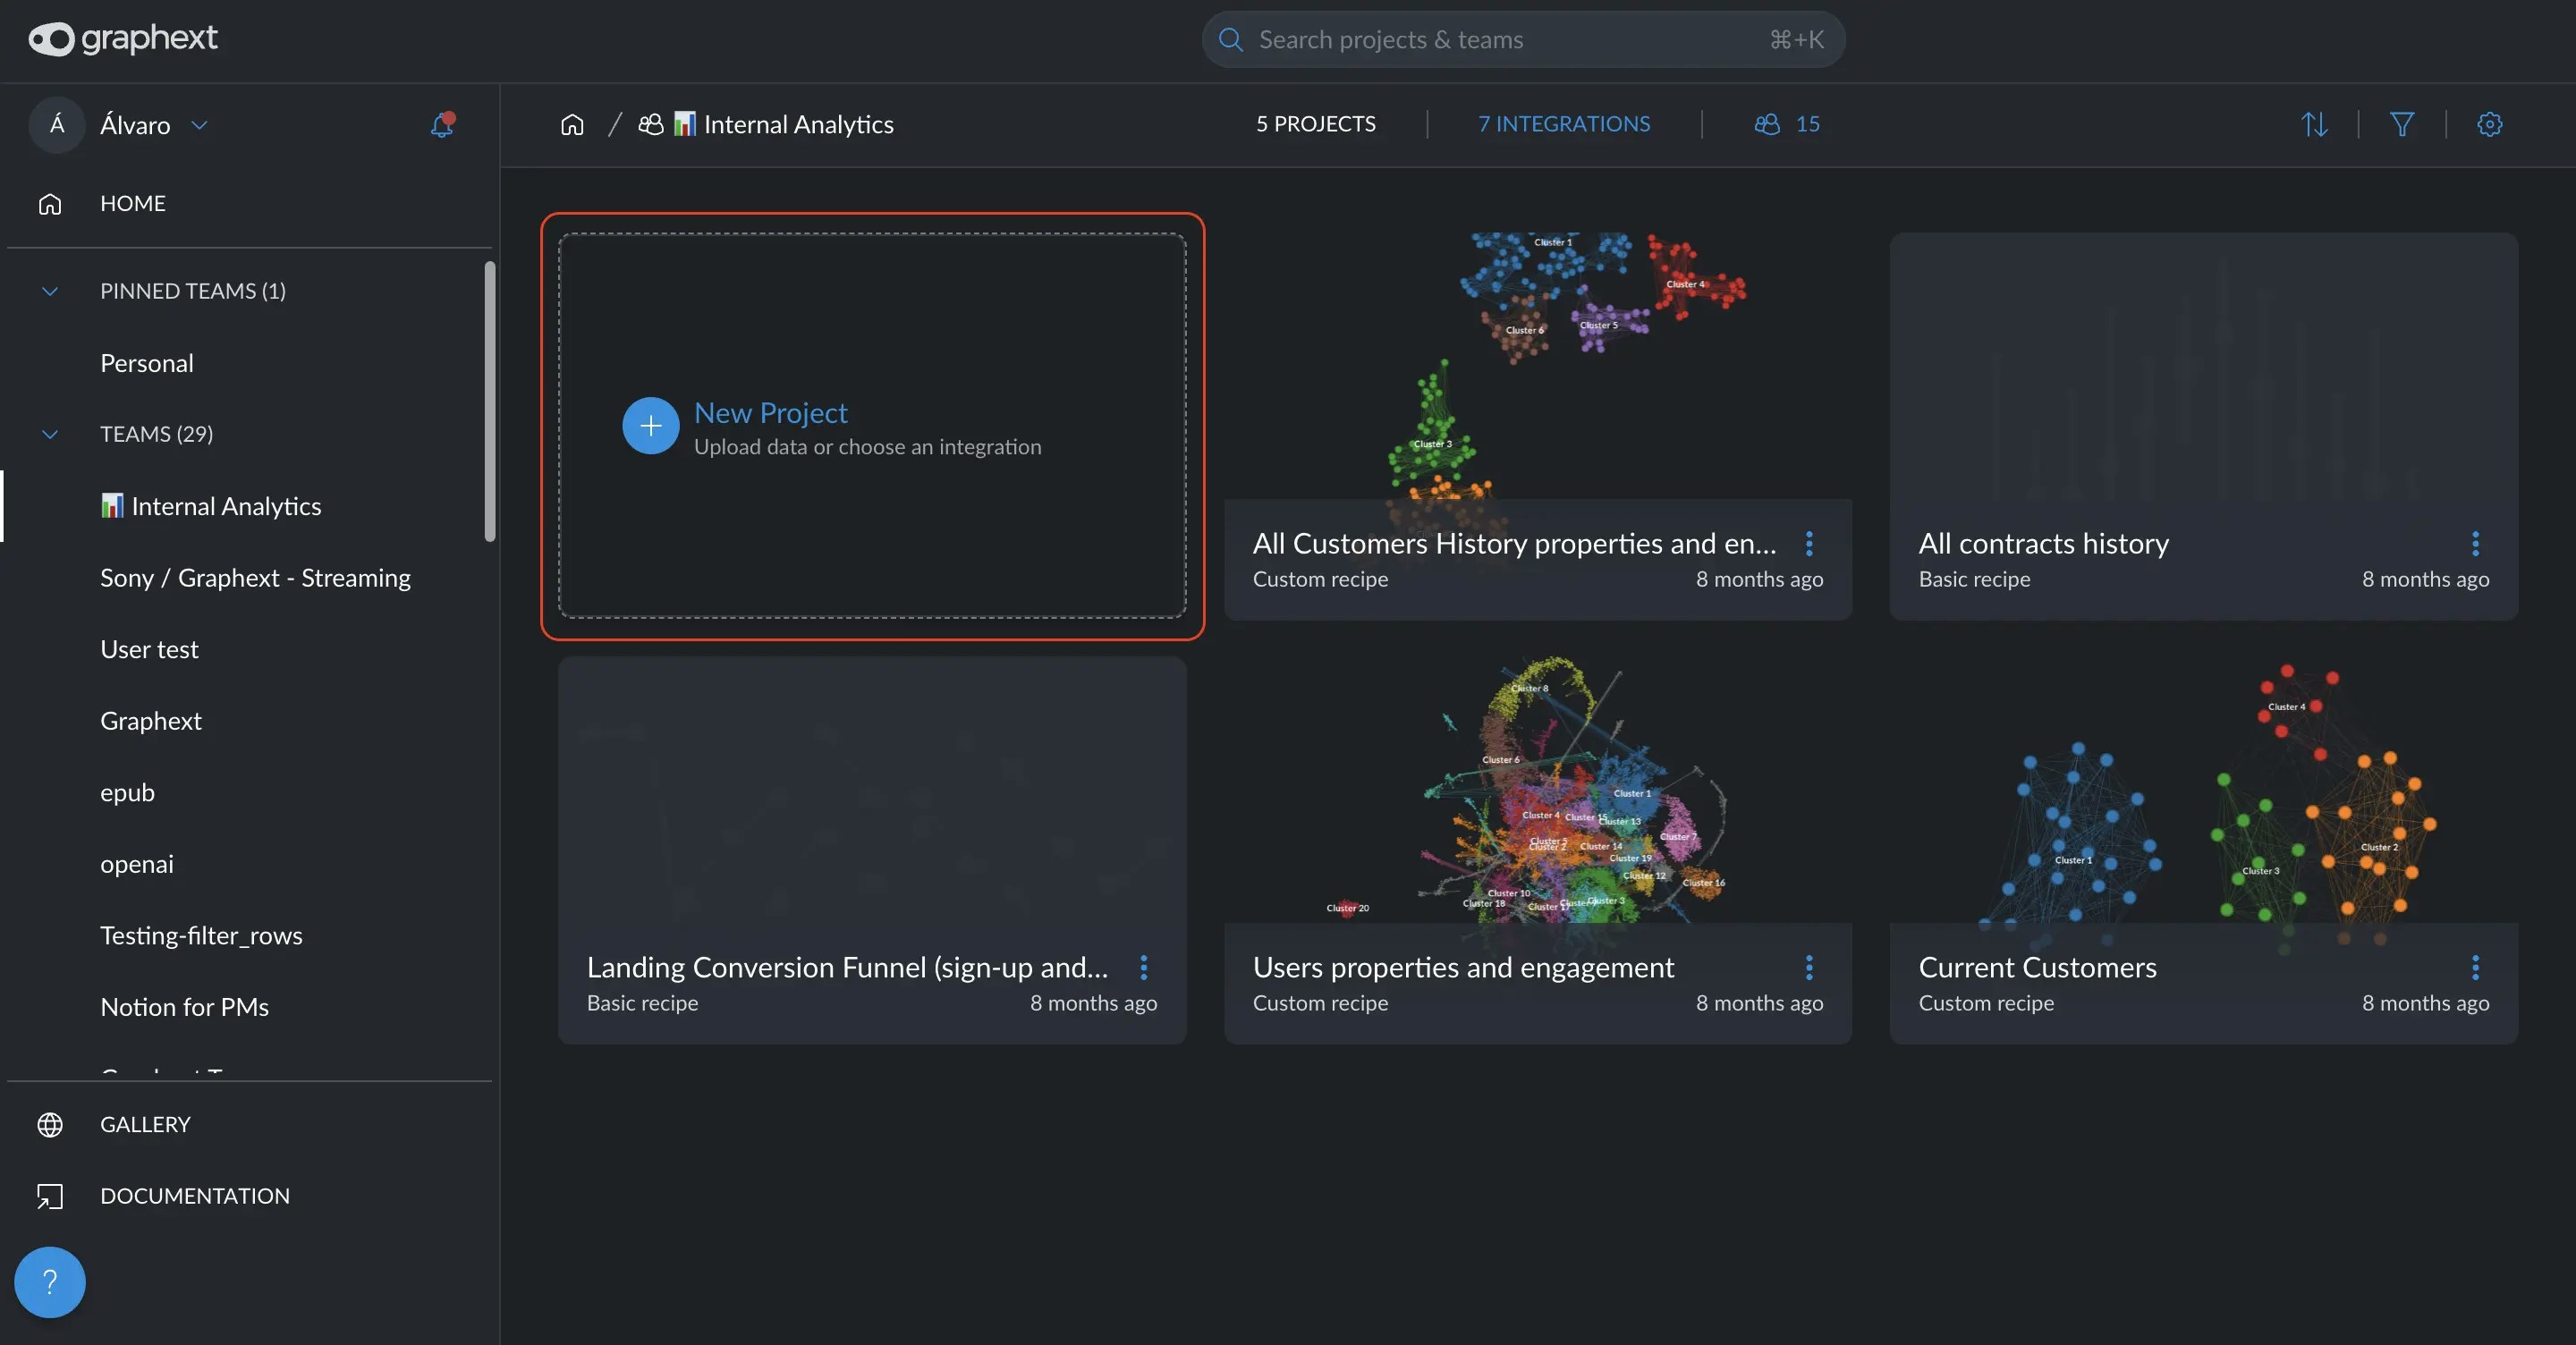
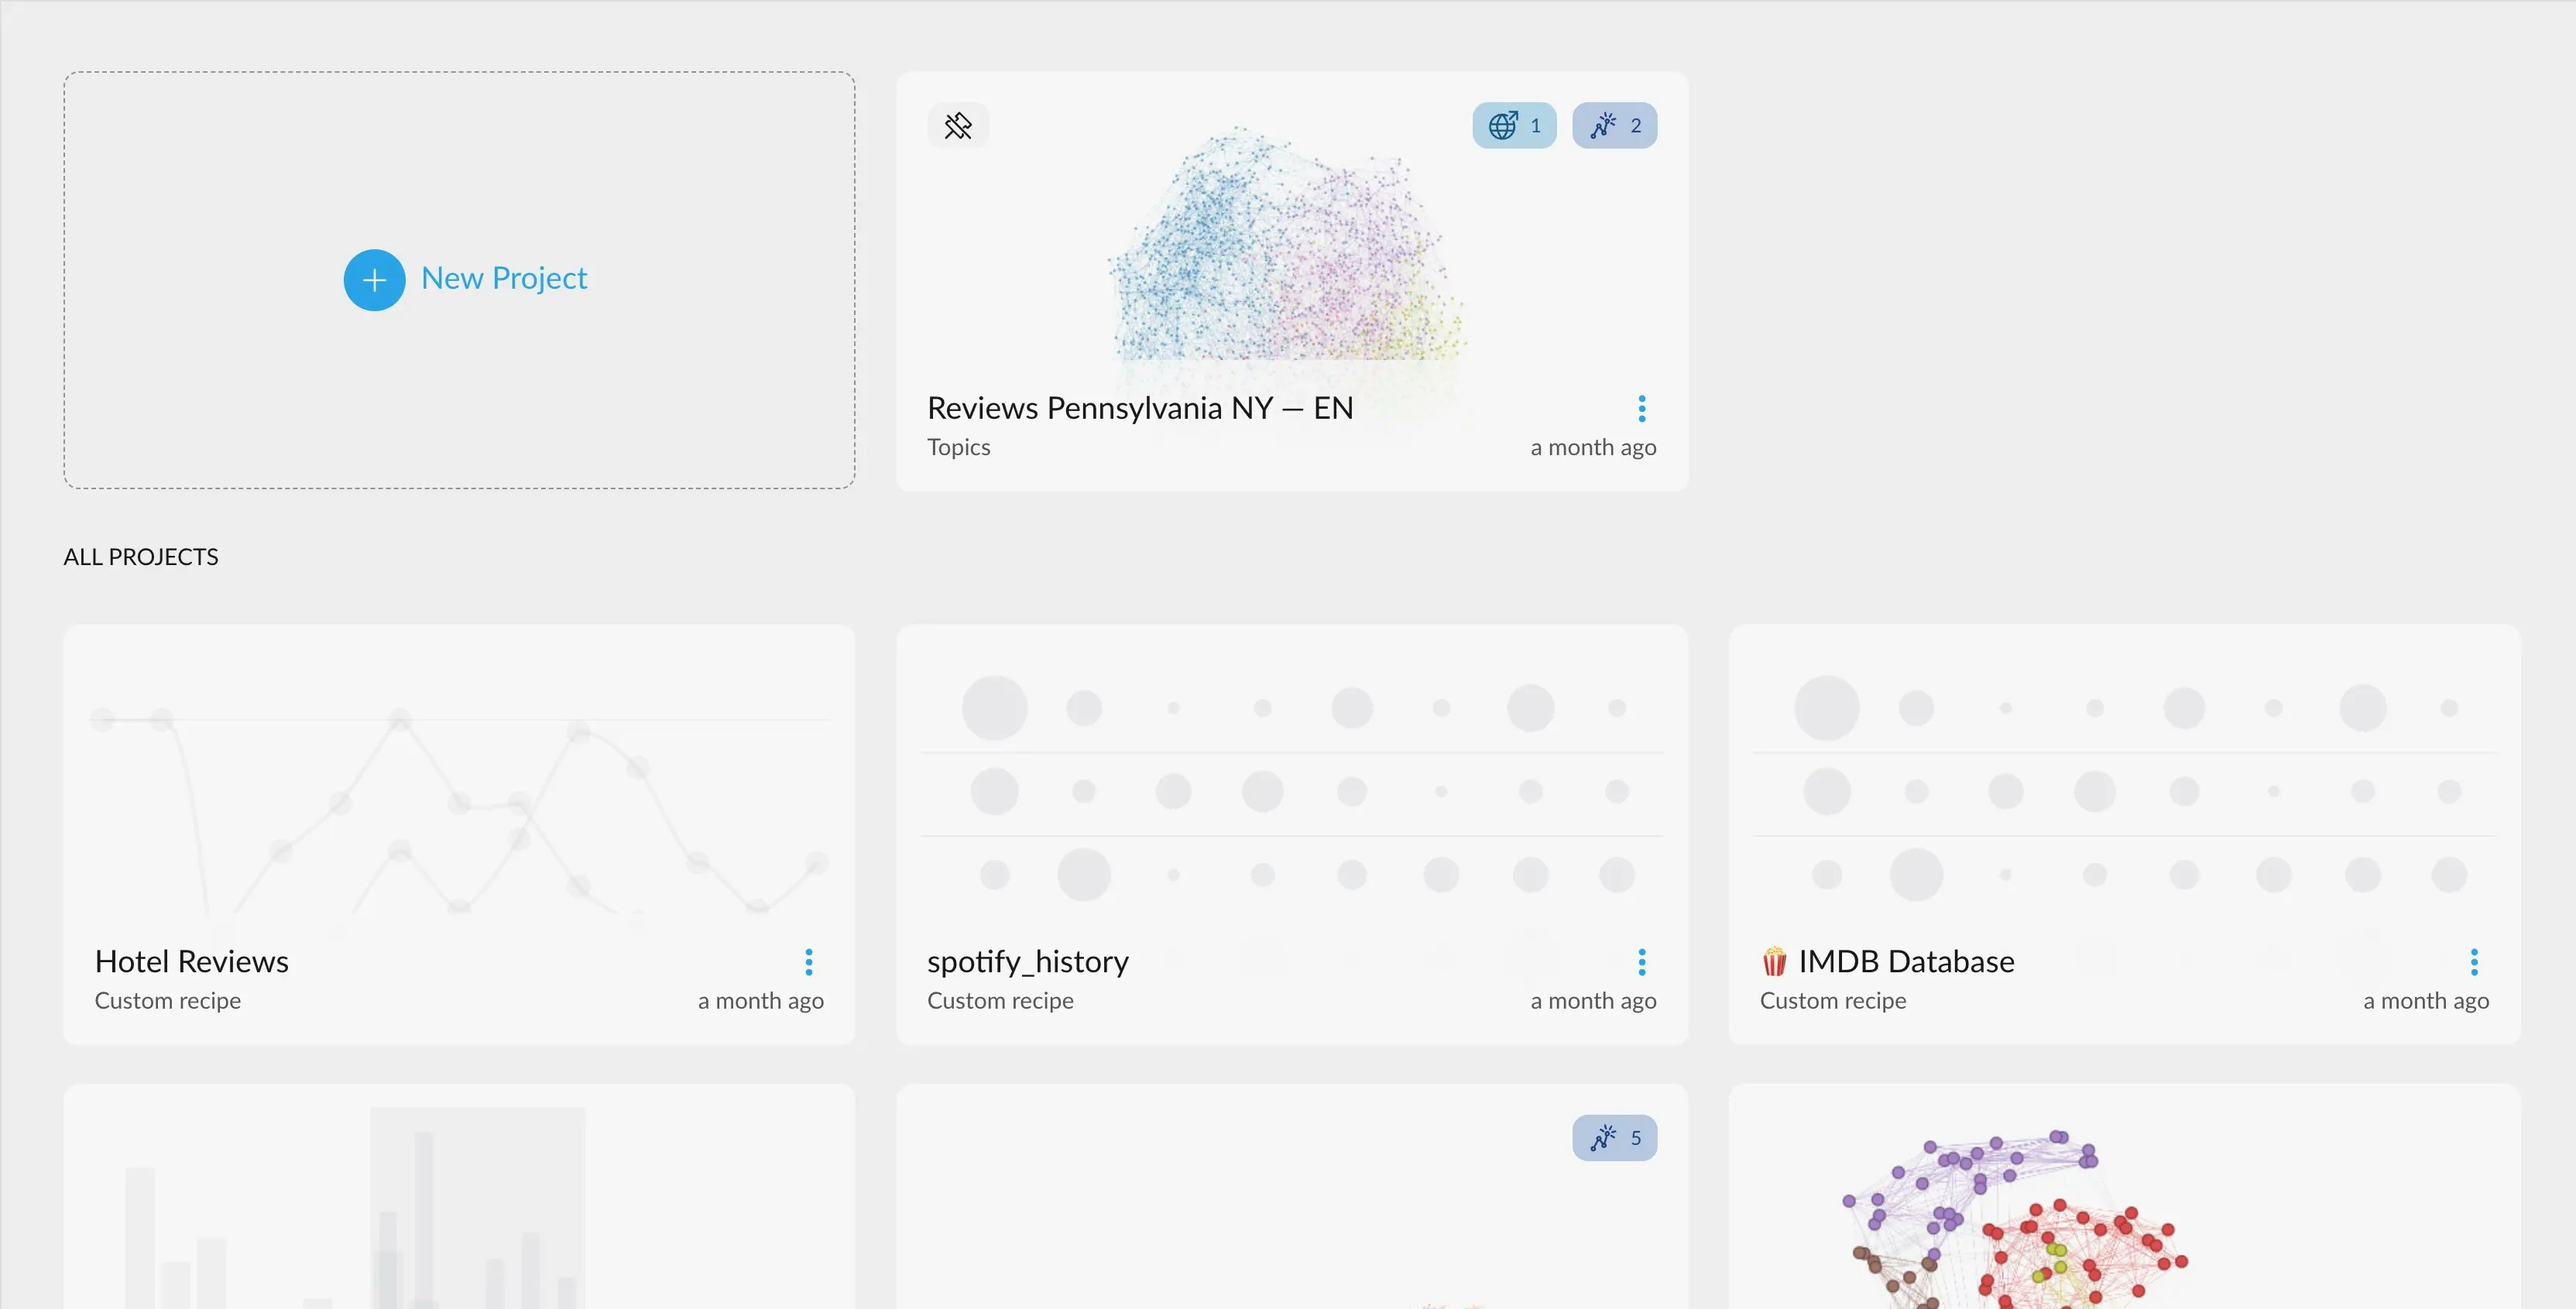
From the Home page, you can initiate a new project by clicking the prominent blue “New Project” button. Alternatively, within each team’s interface, the first card displayed is the ”+ New Project” card, which is also clickable and serves as another gateway to start a new project.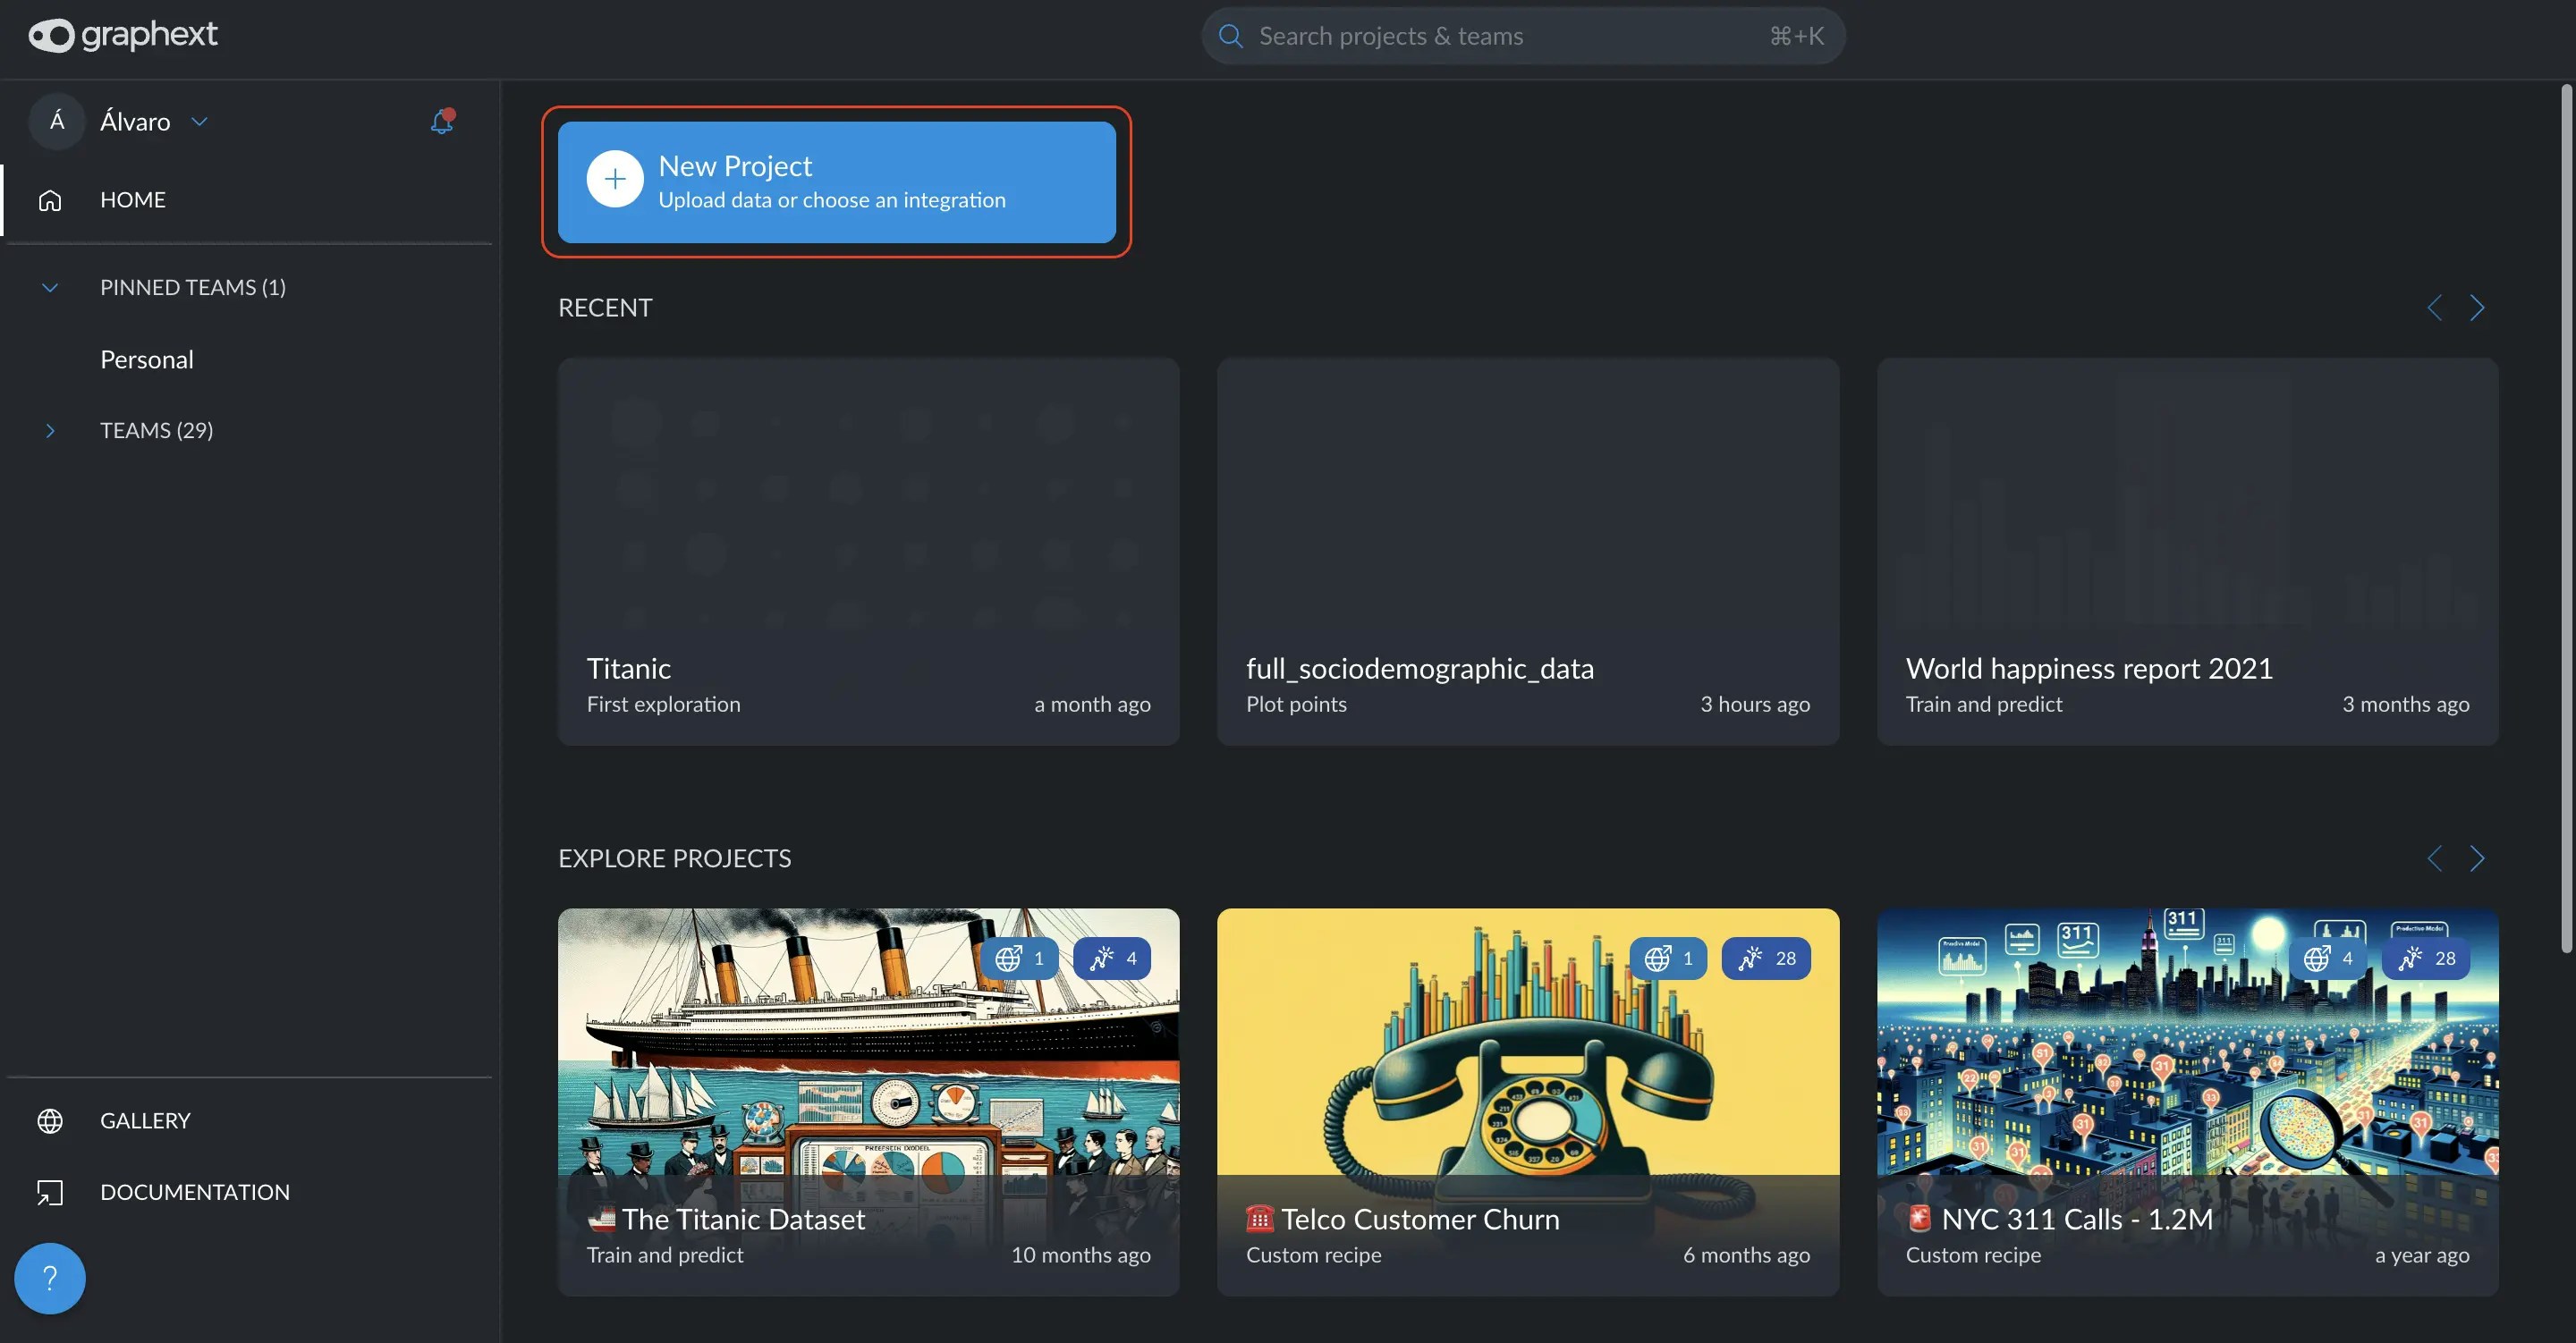
- Upload a file: Directly upload data files from your local storage.
- Connect to a data integration: Utilize connections to a variety of data integrations available on our platform.
- Use a data example: Start with one of our pre-loaded data examples to get a feel for the system or to conduct test analyses.
How to share a project with a team member and change role
Facilitates collaboration on the same analysis with numerous users. Depending on your specific needs, you can share projects as either editors or viewers. Editors are granted permissions to contribute to the project actively, while viewers are able to access the project solely for the purpose of consuming insights without making any alterations. To share a project, simply follow these steps:Guided steps
Guided steps
1
First Step
Navigate to the project card within the hall and click on the menu to find
the “Share” option.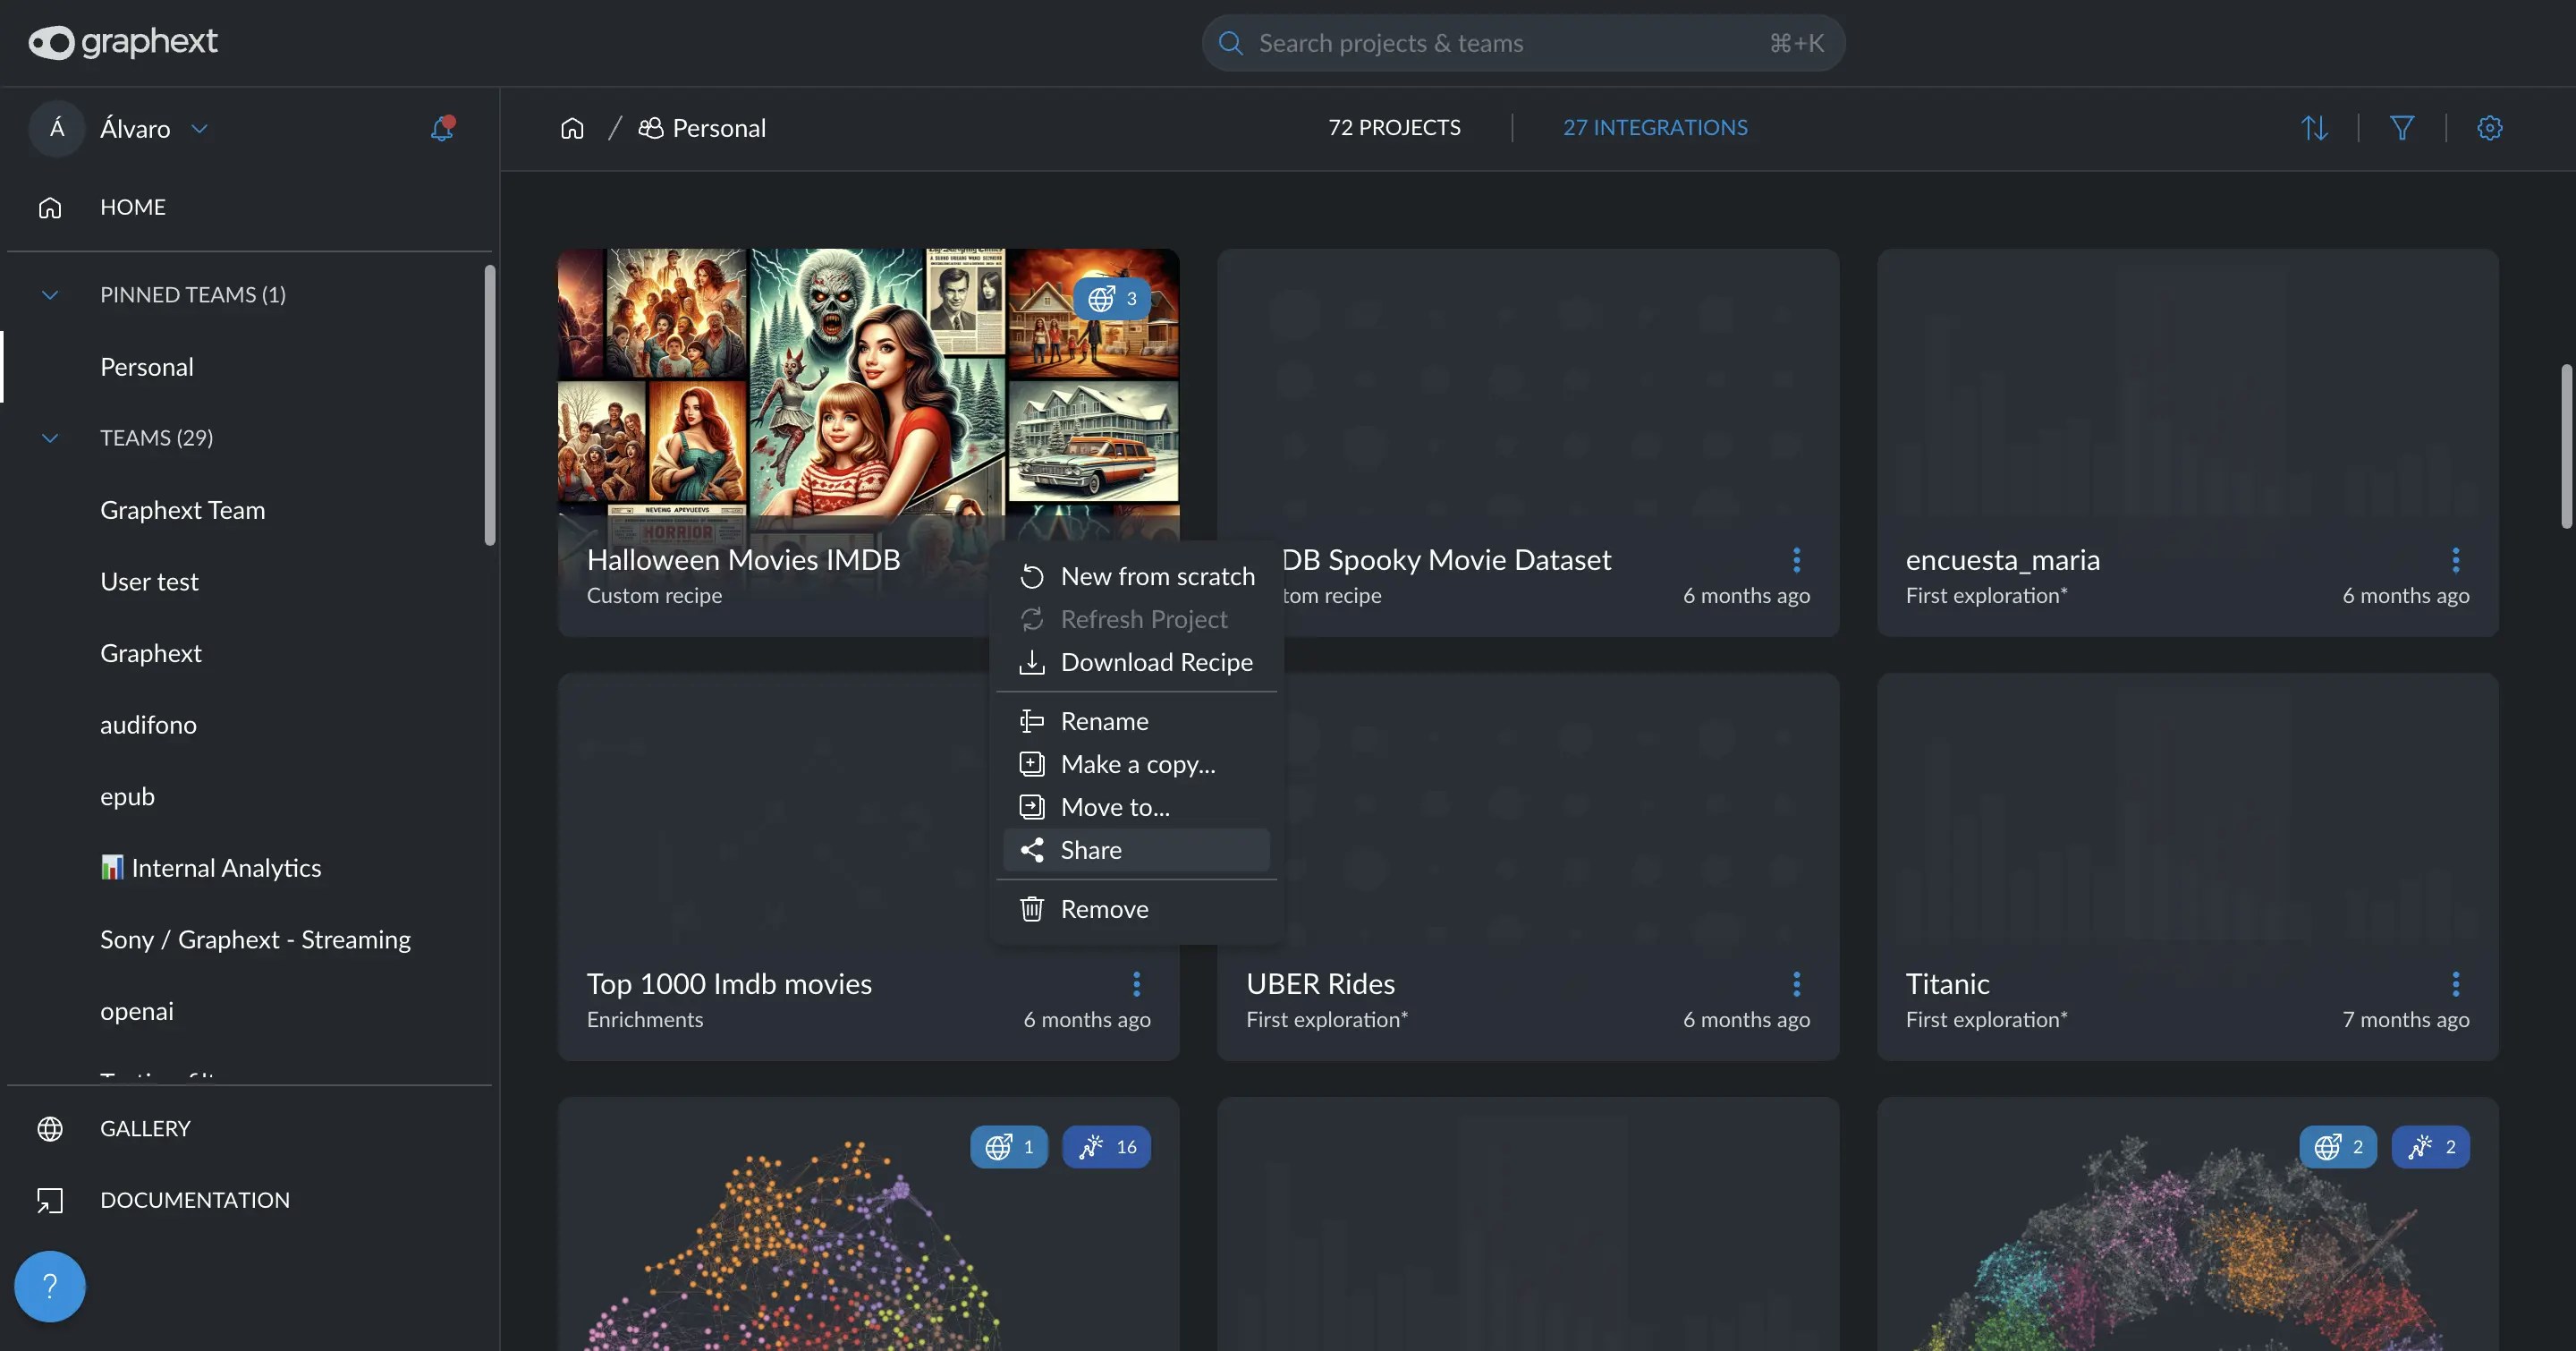
2
Second Step
A window will appear where you can search for and enter the emails of
the users with whom you want to share the project.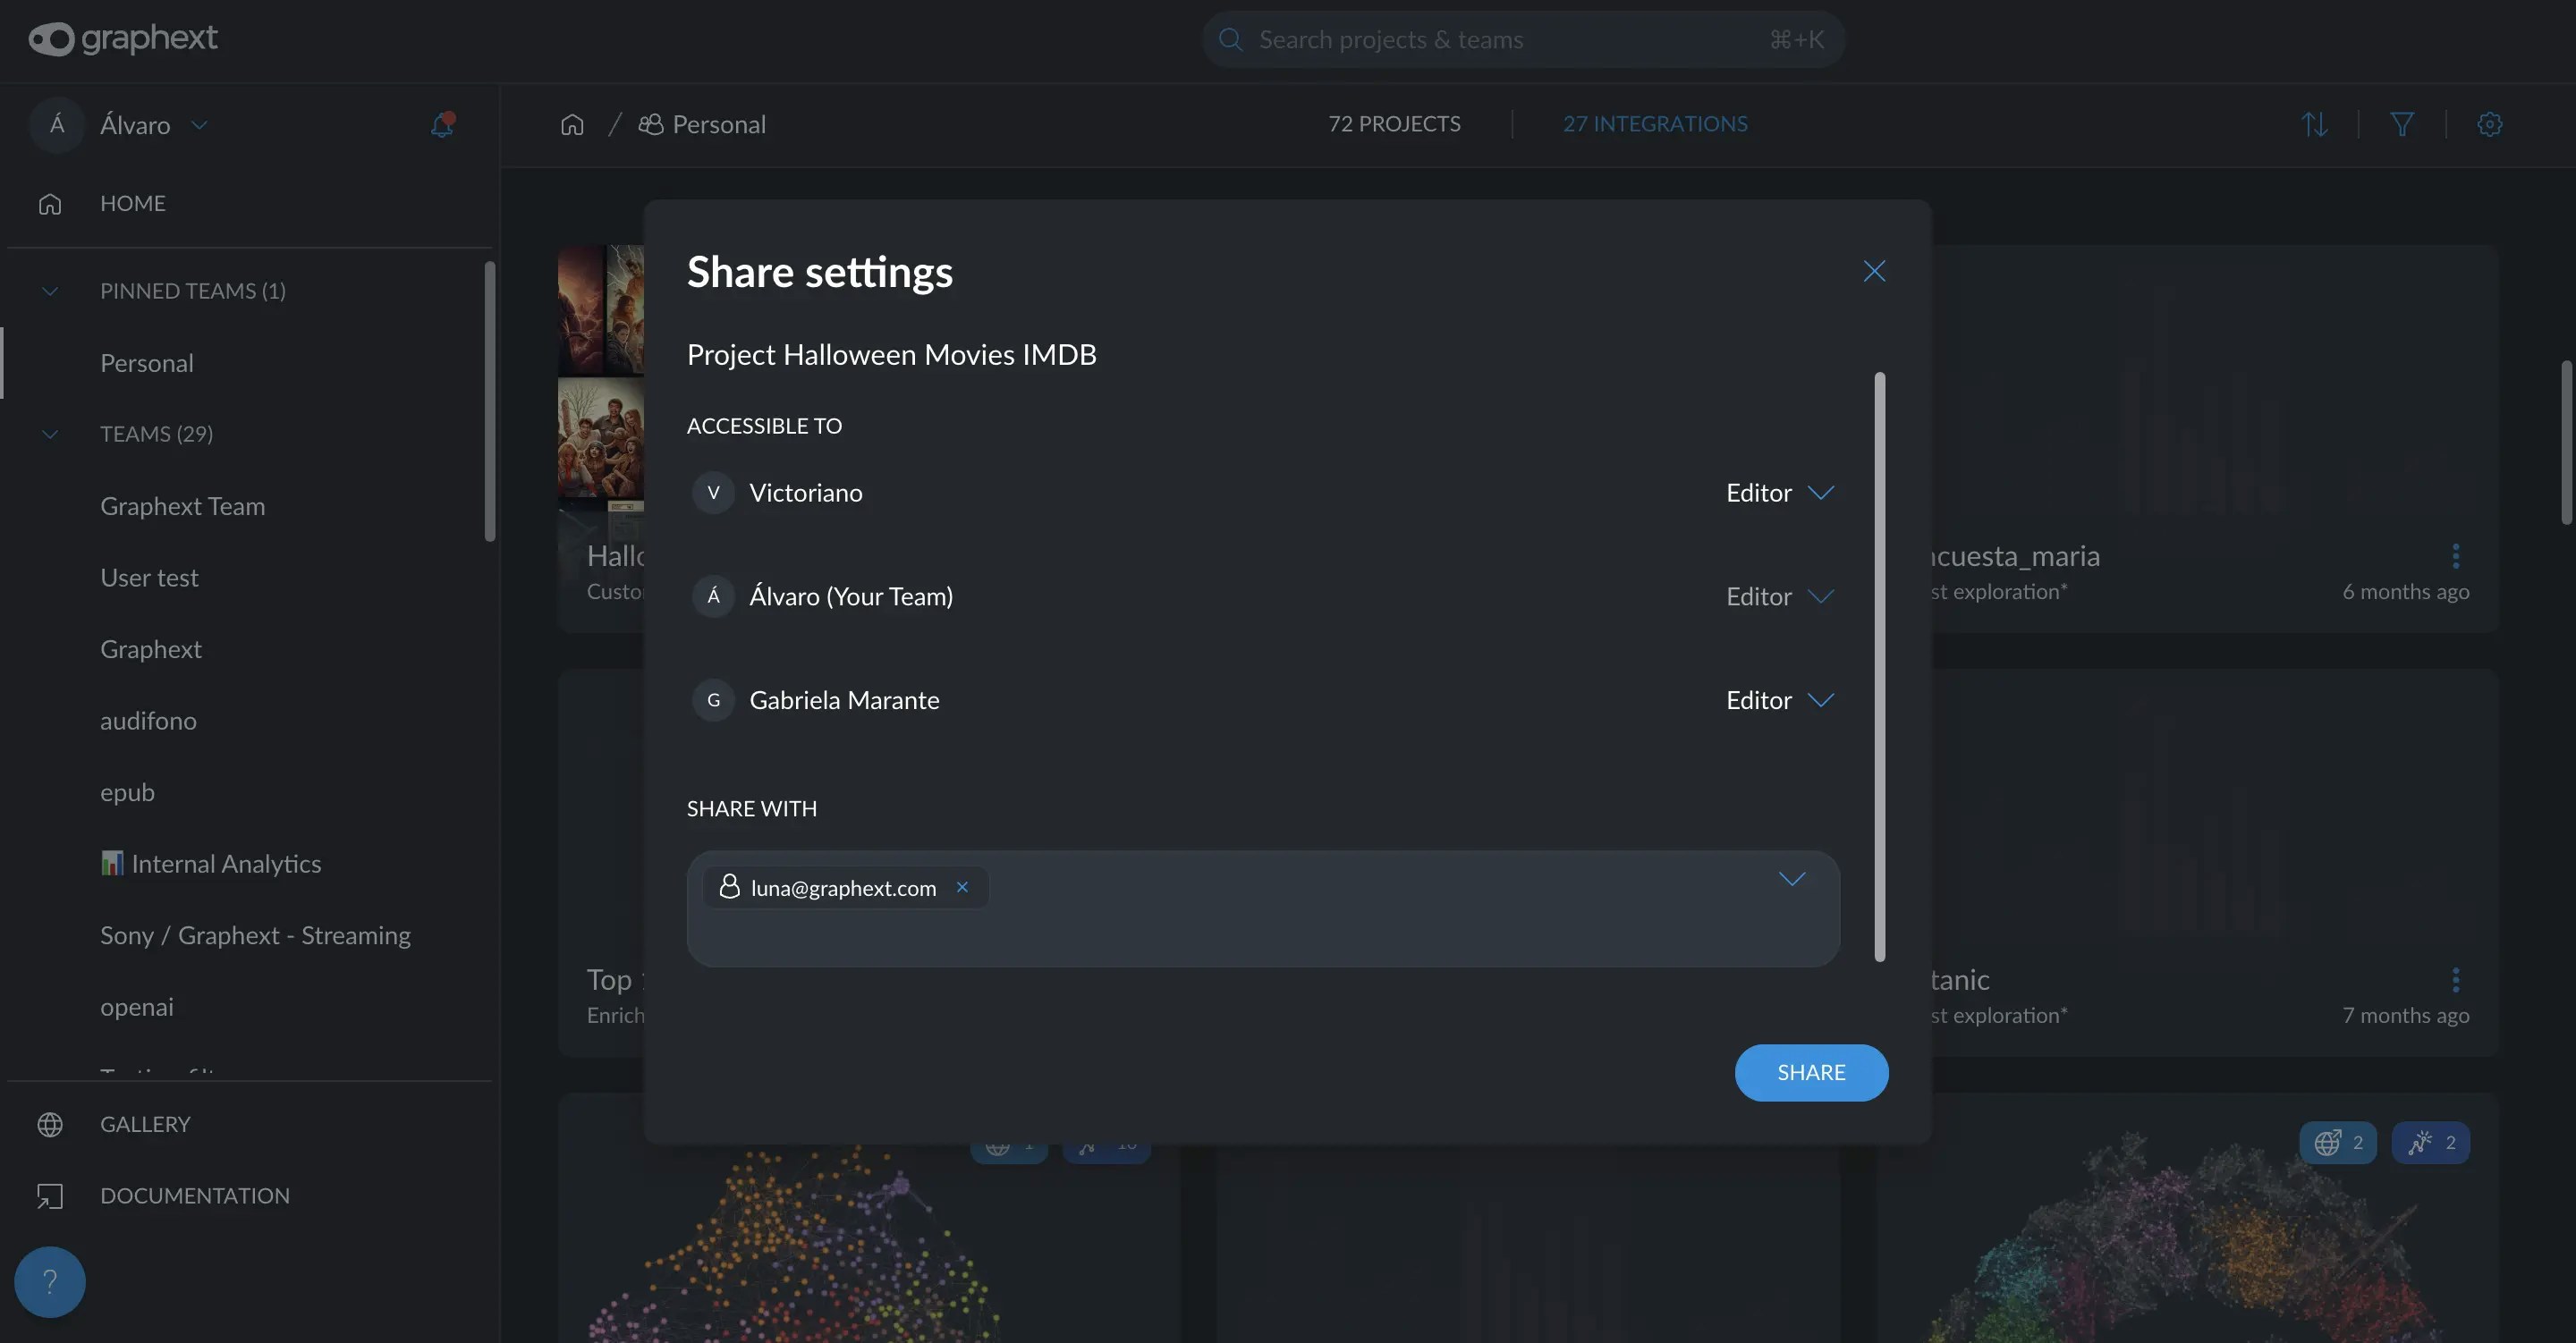
3
Third Step
If at any point you need to adjust user permissions or roles, you can
easily manage these settings. Return to the same menu, select the “Share”
option again, and you will have the option to modify the roles of existing
users or remove them entirely.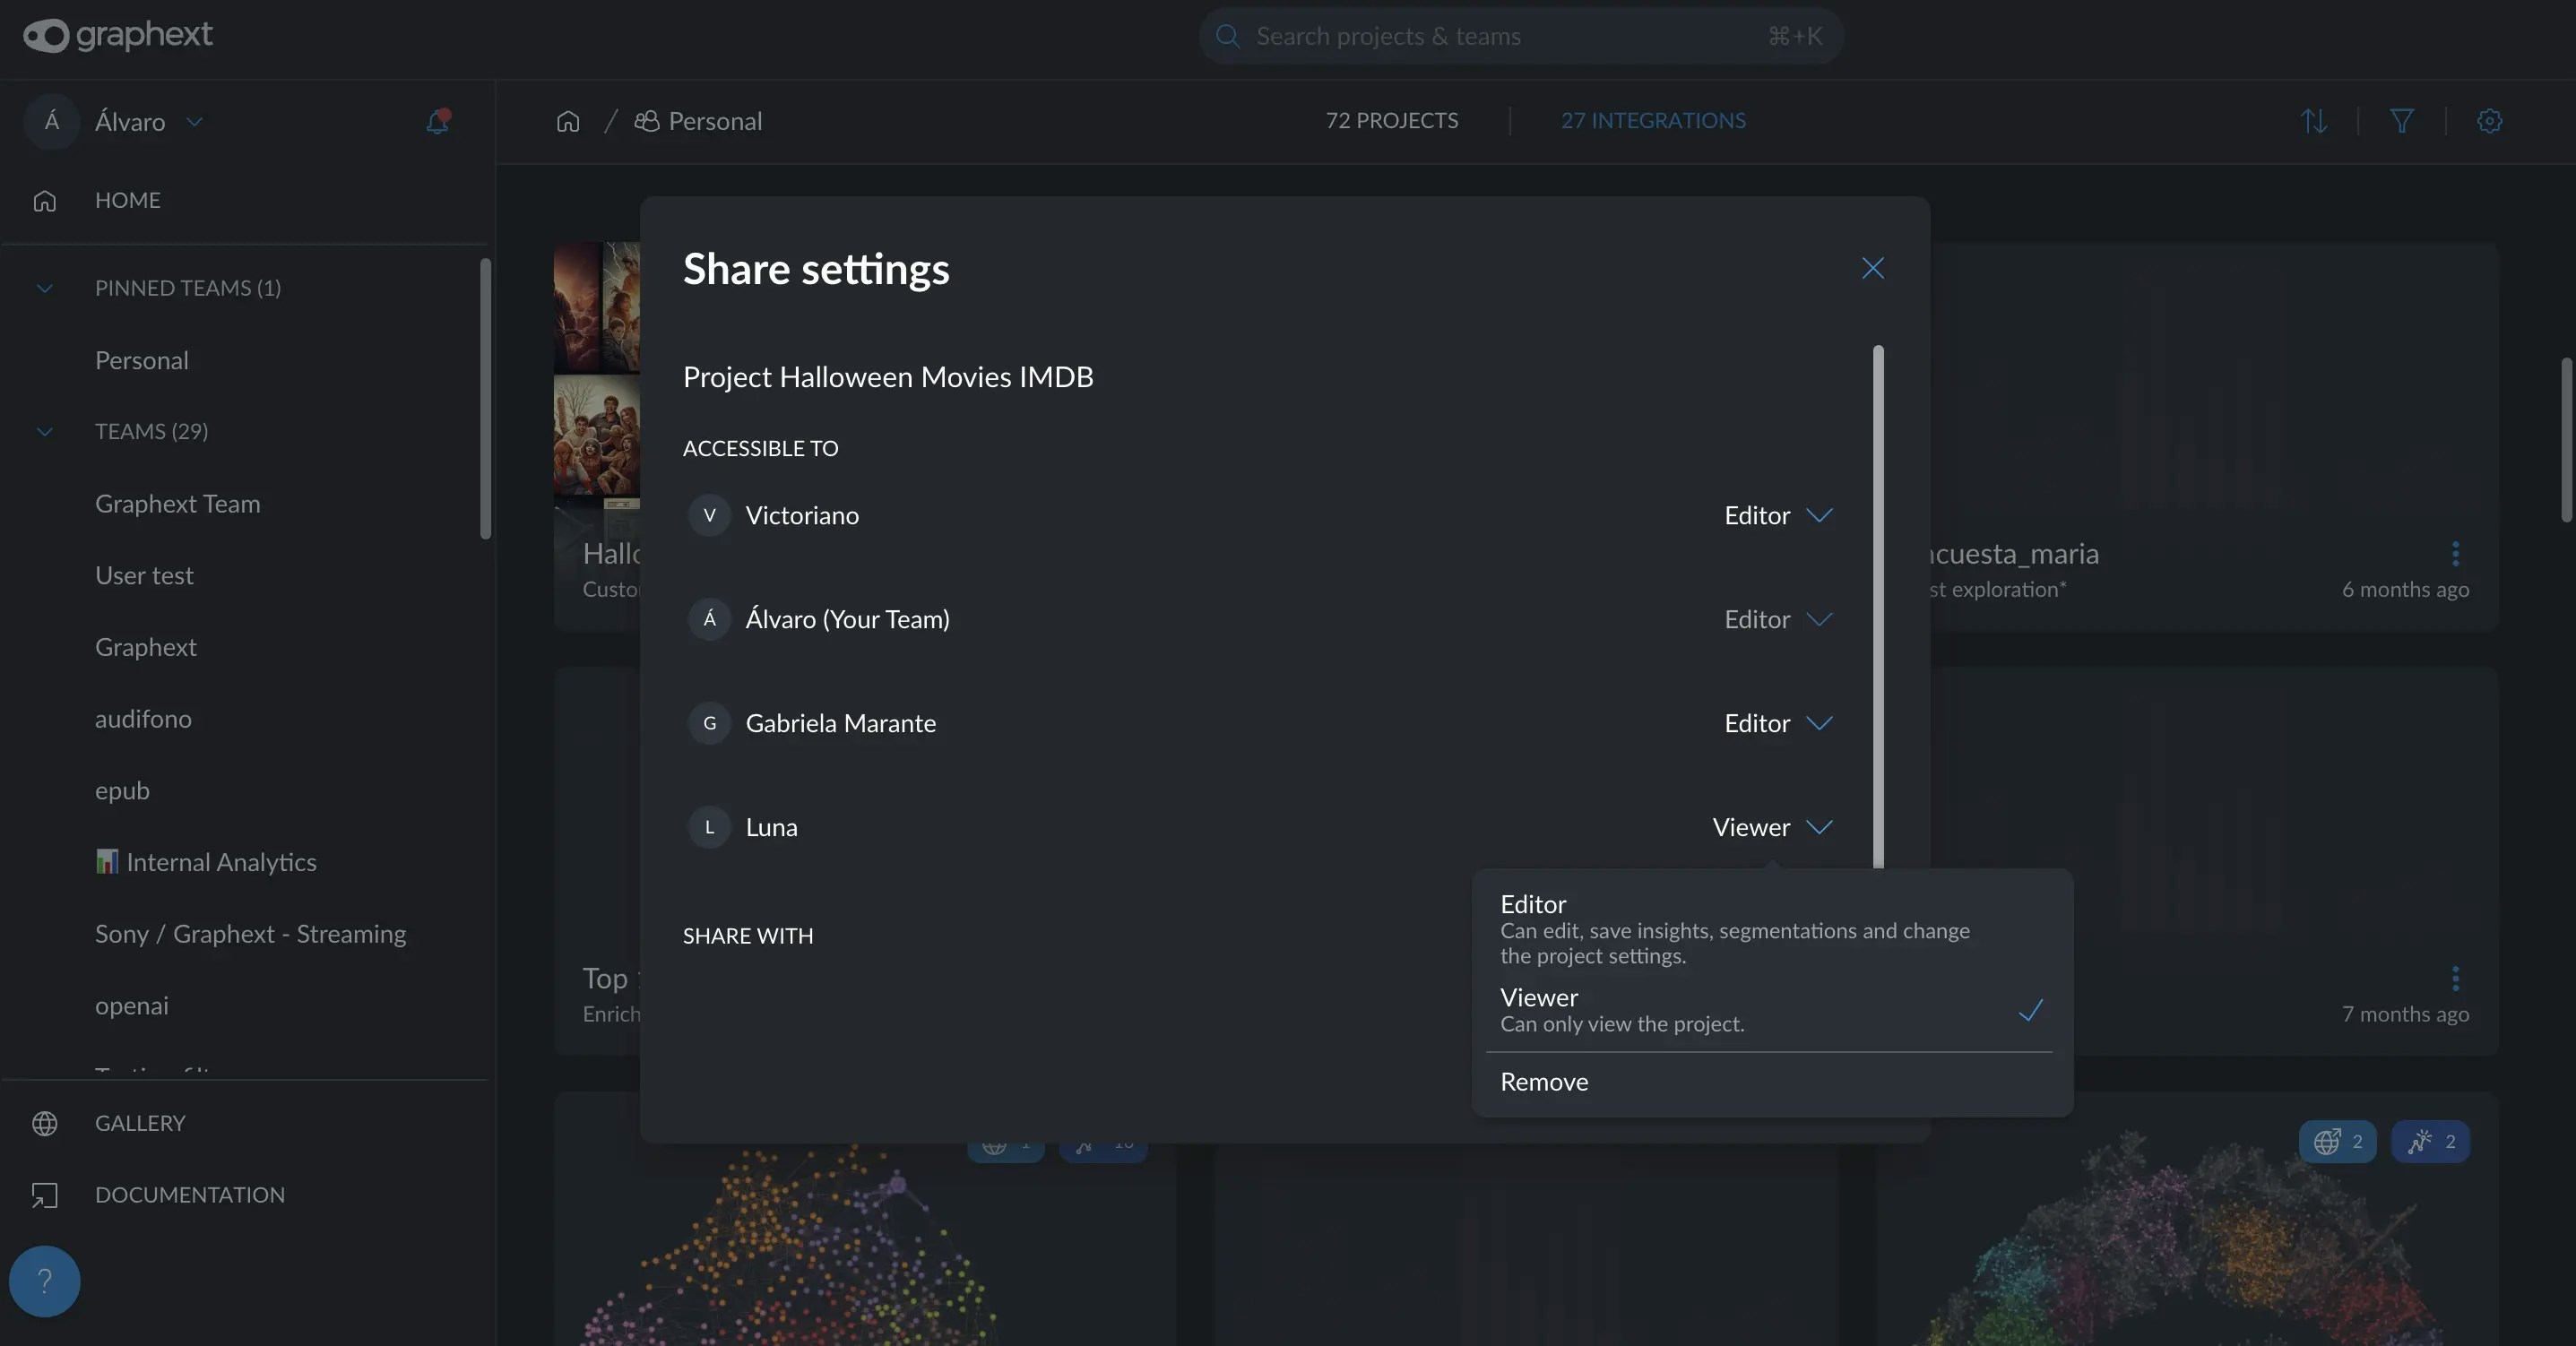
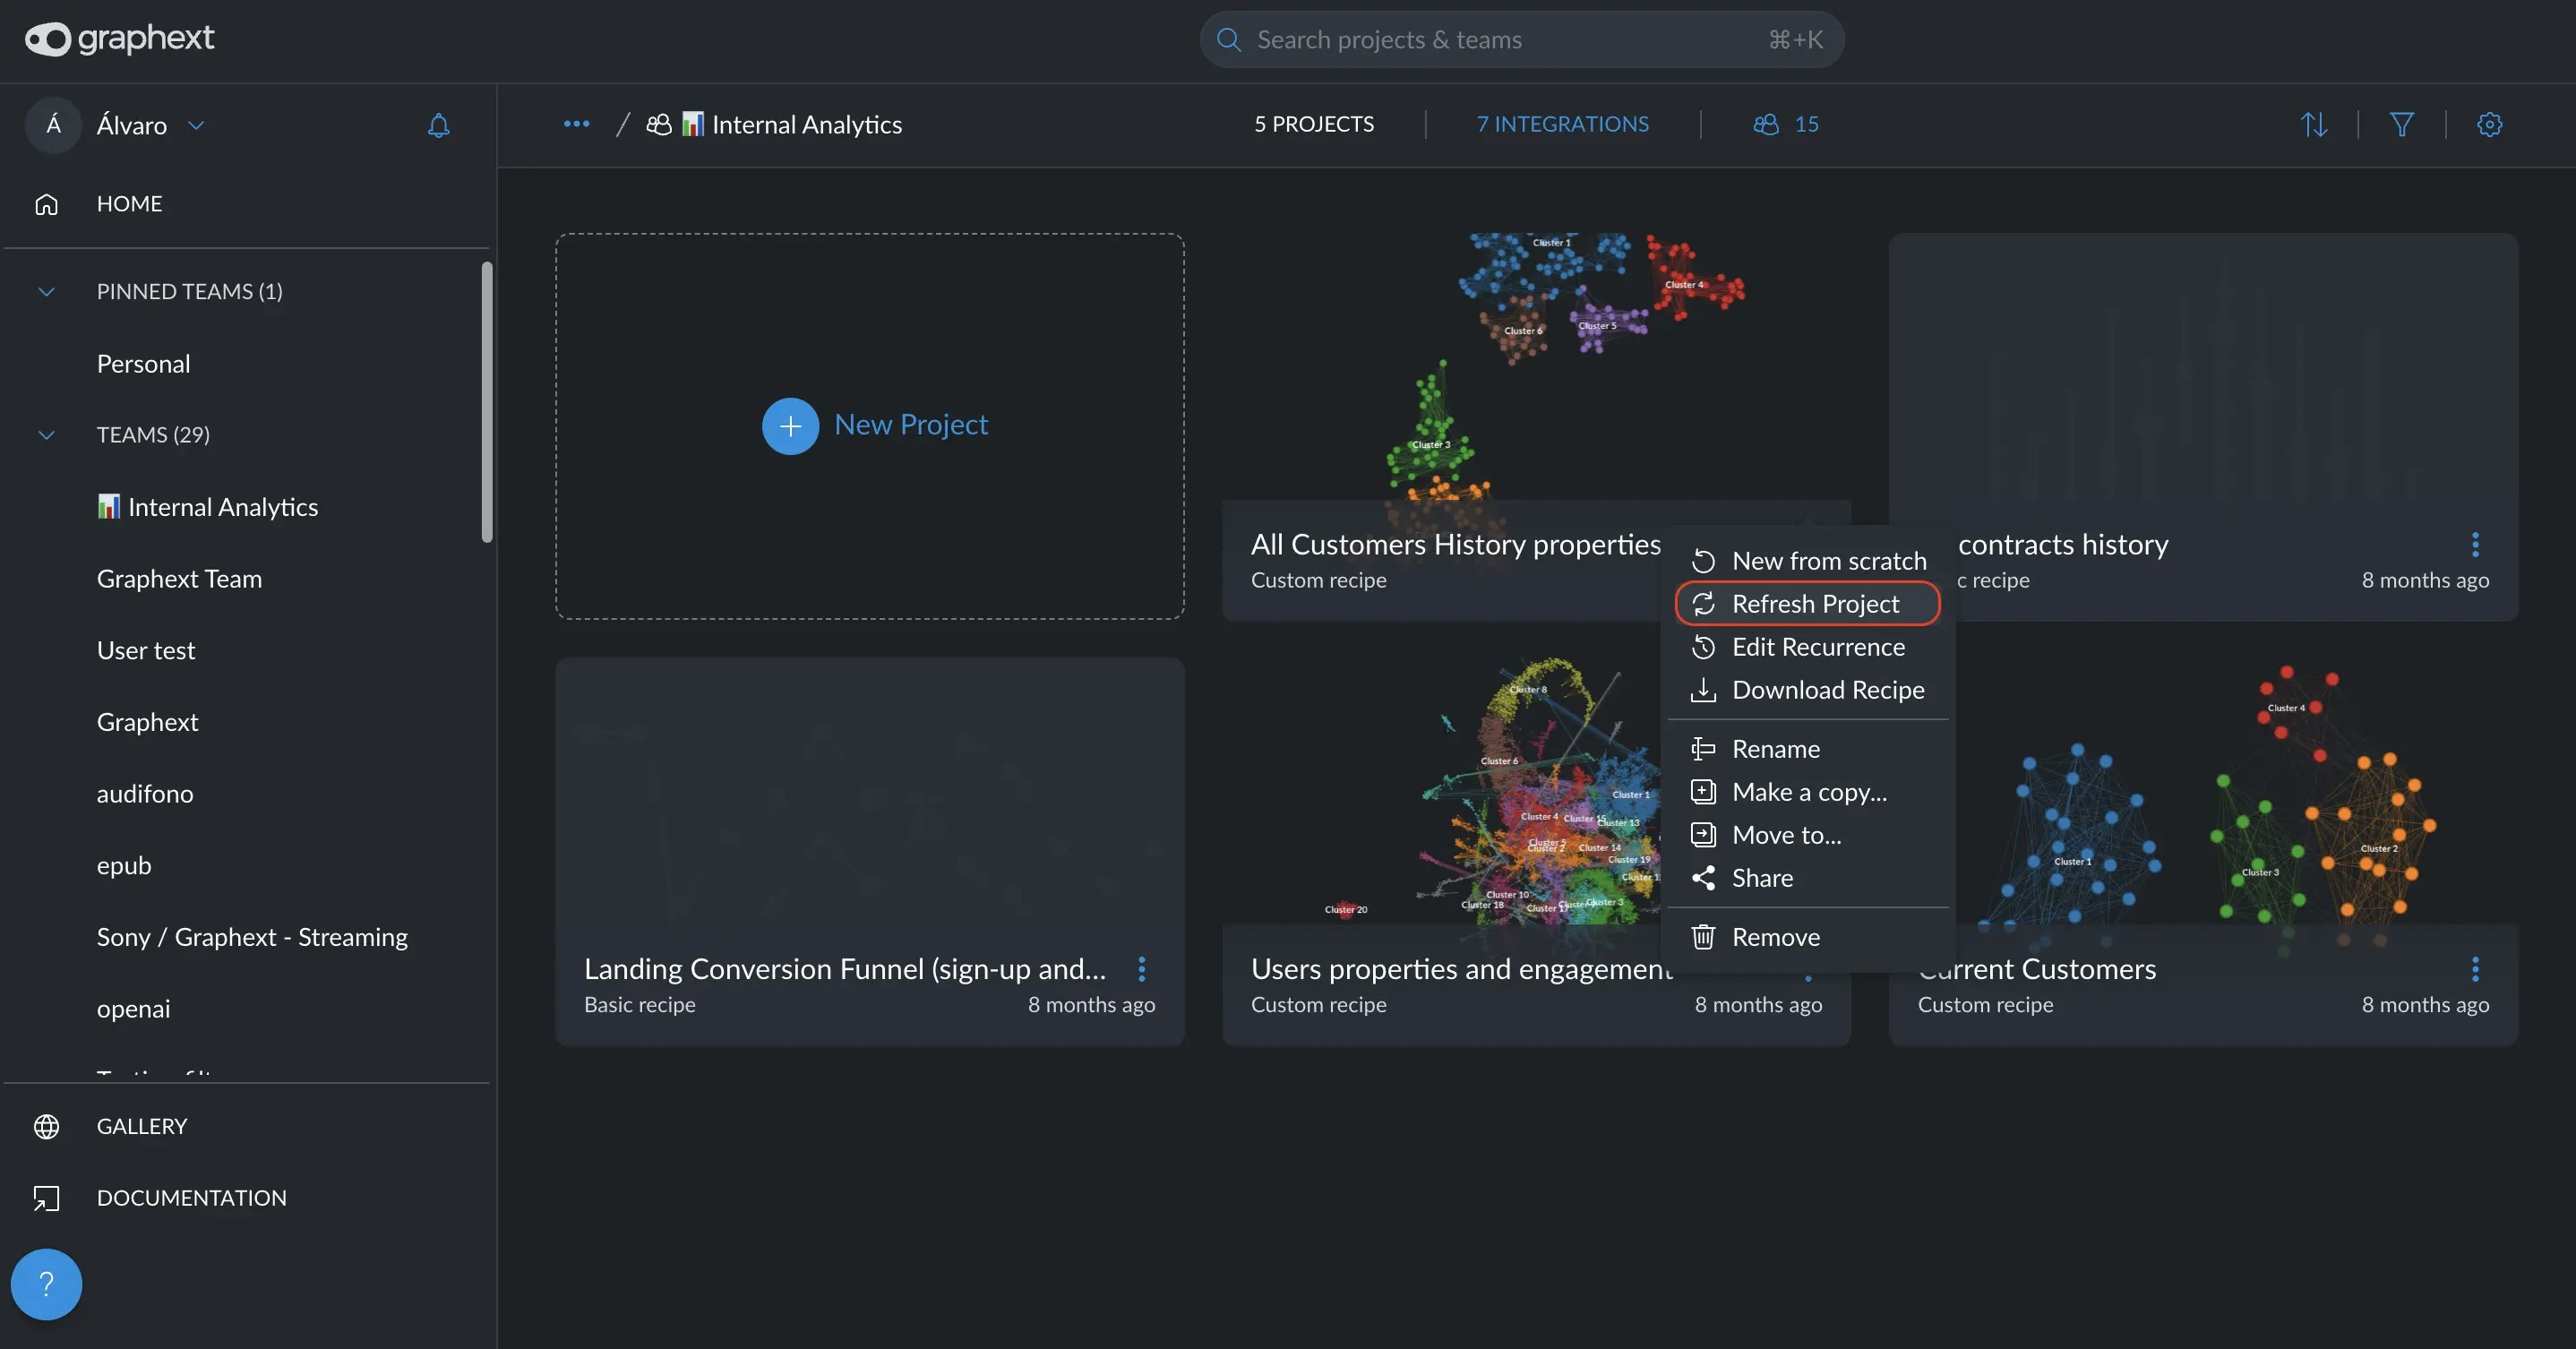
How to refresh a project and add a recurrence
A project linked to an integration, allows the dataset to be updated, with two methods to rerun the analysis on this new data: manually or automatically.- For manual updates, you can utilize the “Refresh Project” feature. Simply click on the menu of the project card and select “Refresh Project.” This action triggers the system to reapply the existing “recipe” to the updated dataset, ensuring your analysis reflects the latest data.
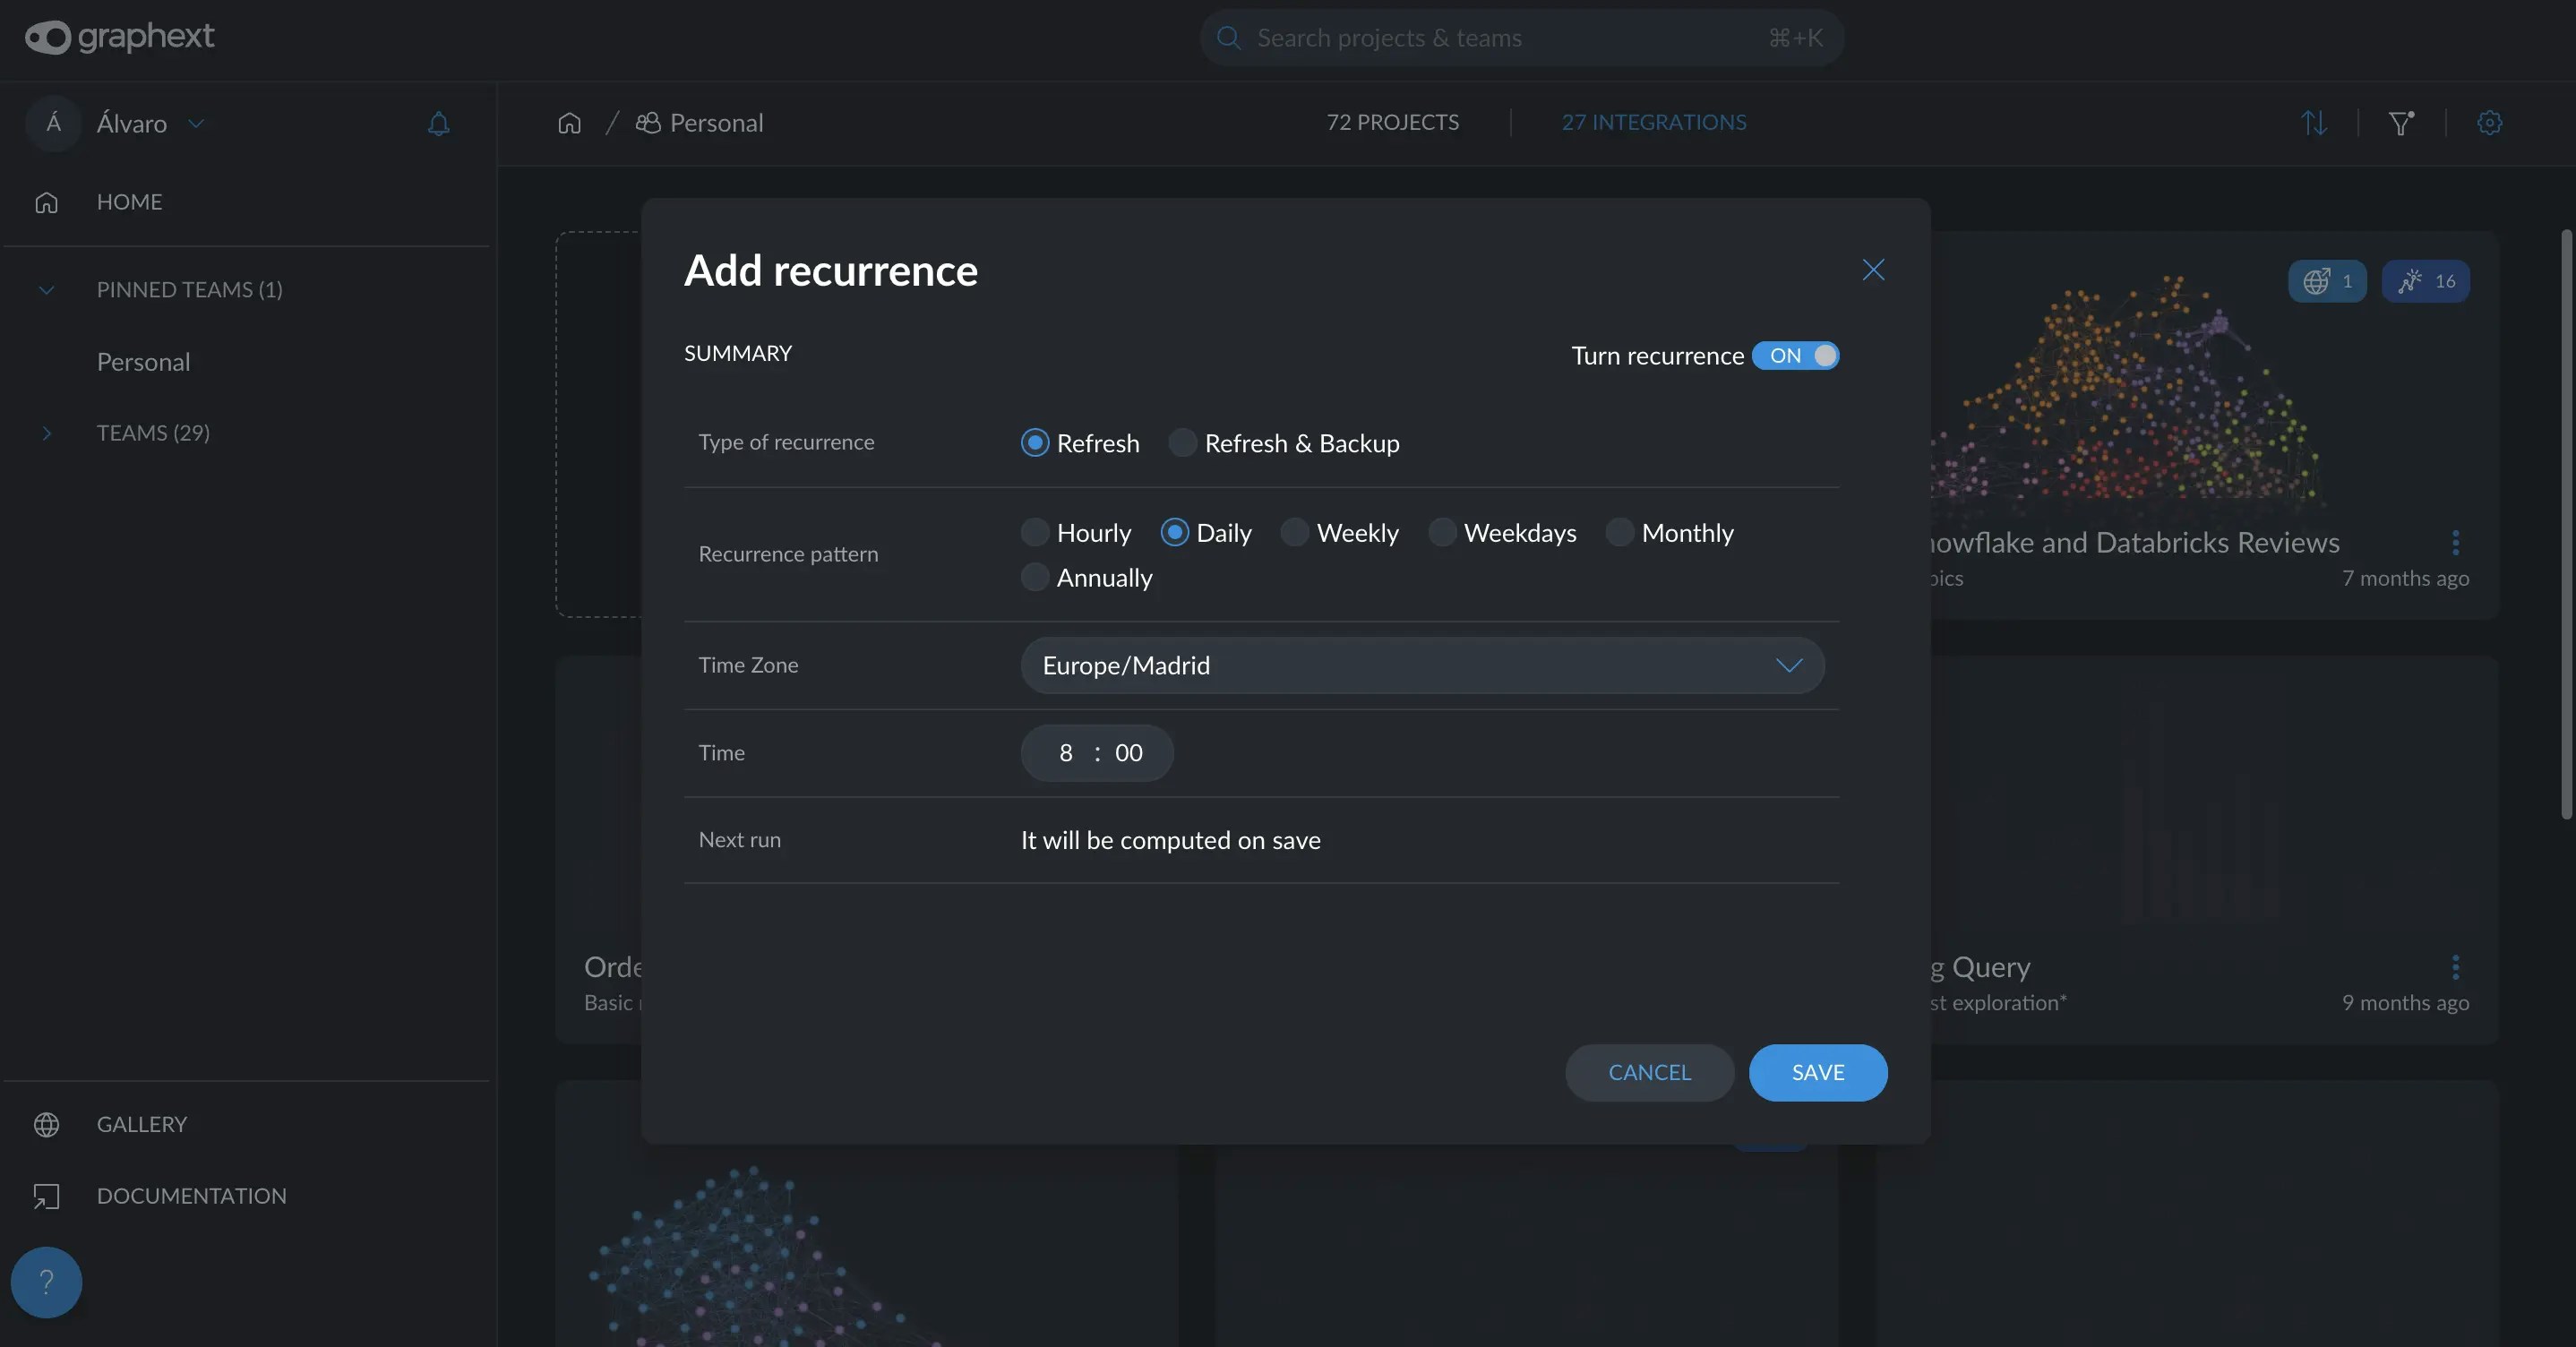
- For automatic updates, you can set up a “Recurrence” by clicking “Add Recurrence” in the project card menu. This feature automates the execution of the project at a frequency you specify, allowing for hands-off updates and analysis. This can be particularly useful for projects requiring regular data refreshes to maintain accuracy and relevancy over time. You can learn more about setting up and managing recurrences here. You can always edit the frequency or pause the recurrence.
How to search, filter and order projects.
Omnibar
To locate any team or project, regardless of how extensive your list grows, you can use the omnibar. To access the omninbar you have to options, click on the search bar at the top or by using keyboard shortcuts. If you are on a Mac, press Cmd + K; on Windows, use Ctrl + K. This omnibar searches across both teams and projects.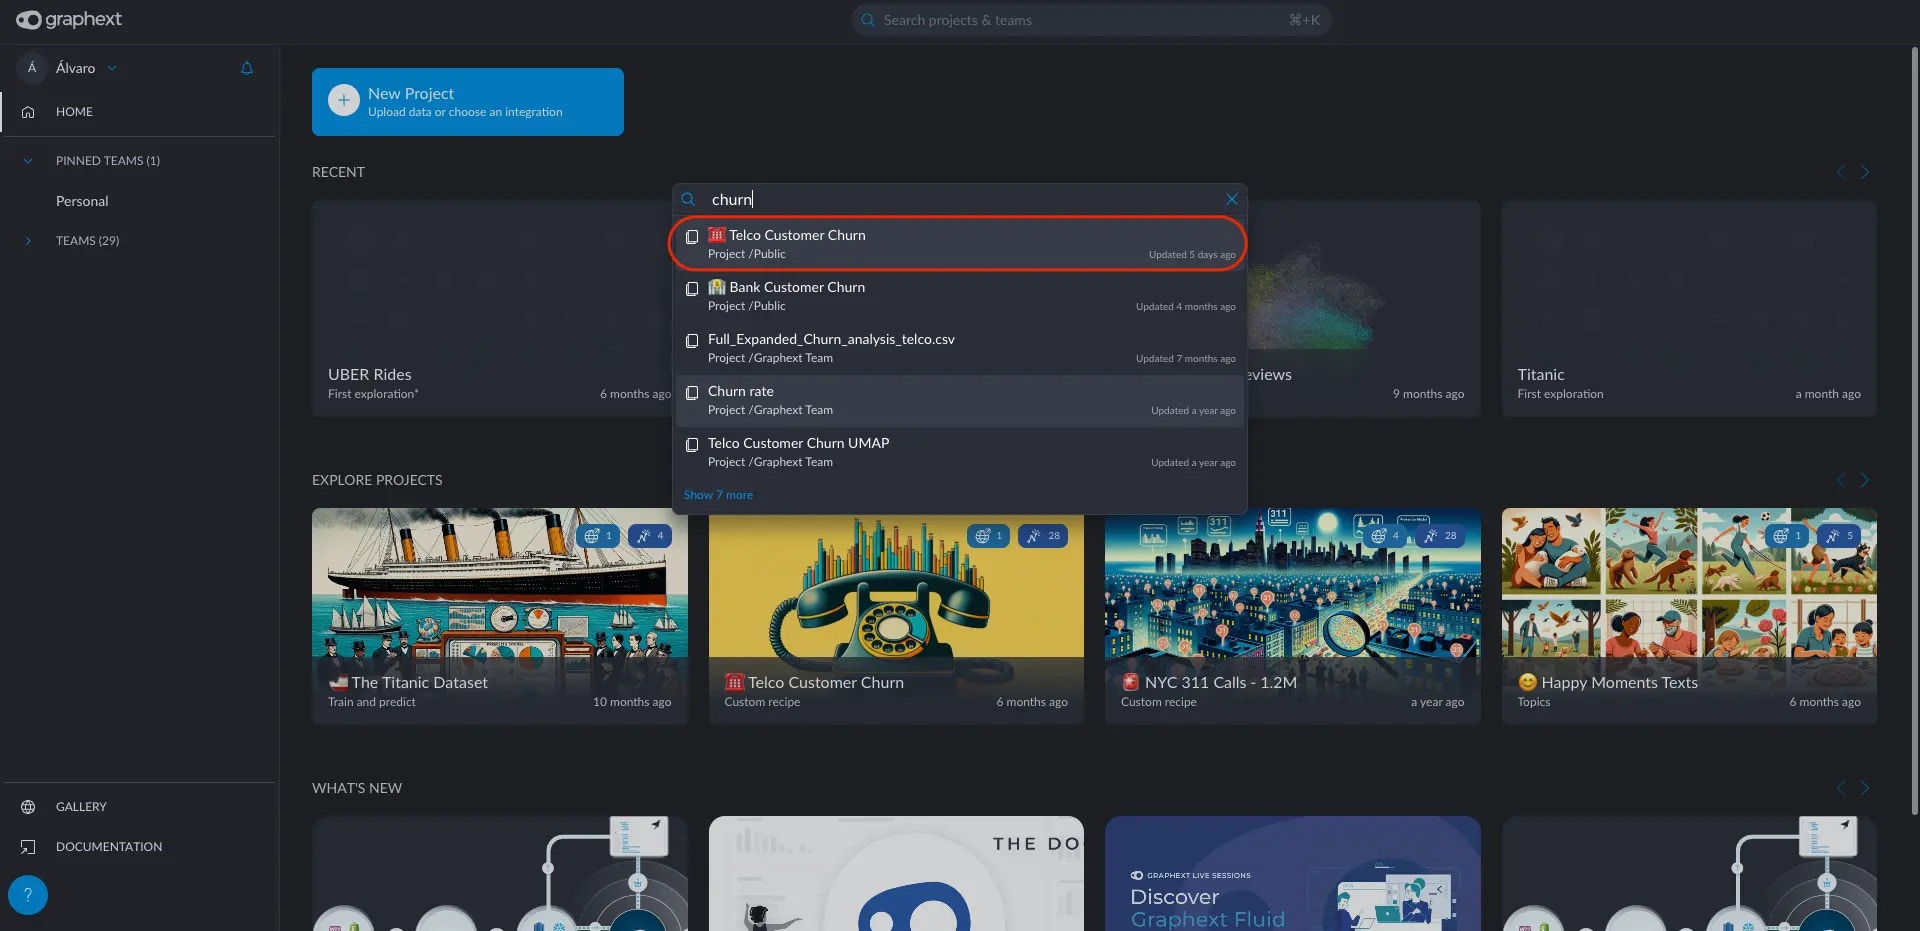
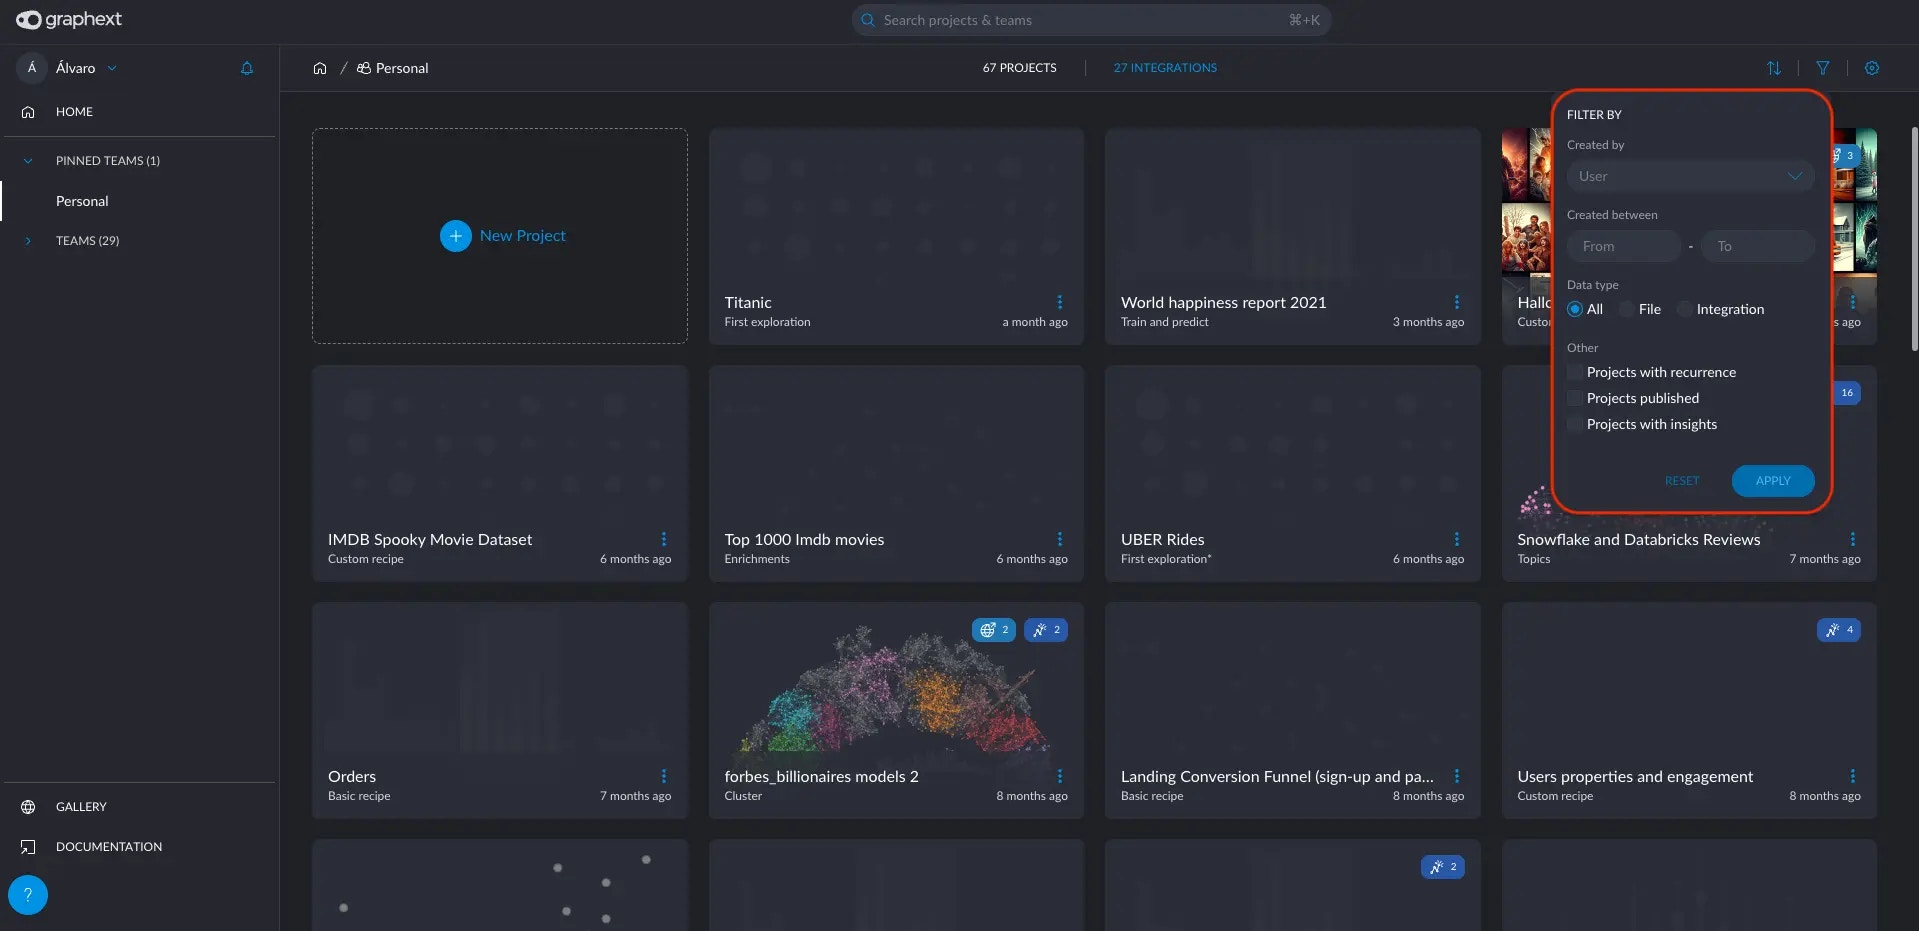
Filter and sorting If you are looking for a specific project, apart from using
the omnibar for a direct search, you can apply filters and sorting options to organize your view more effectively.-
Filter Projects: Located at the top right corner, the filtering options allow you to quickly pinpoint projects based on specific criteria. This can include finding projects by their creator, those that use particular integrations, or ones created during a designated period
-
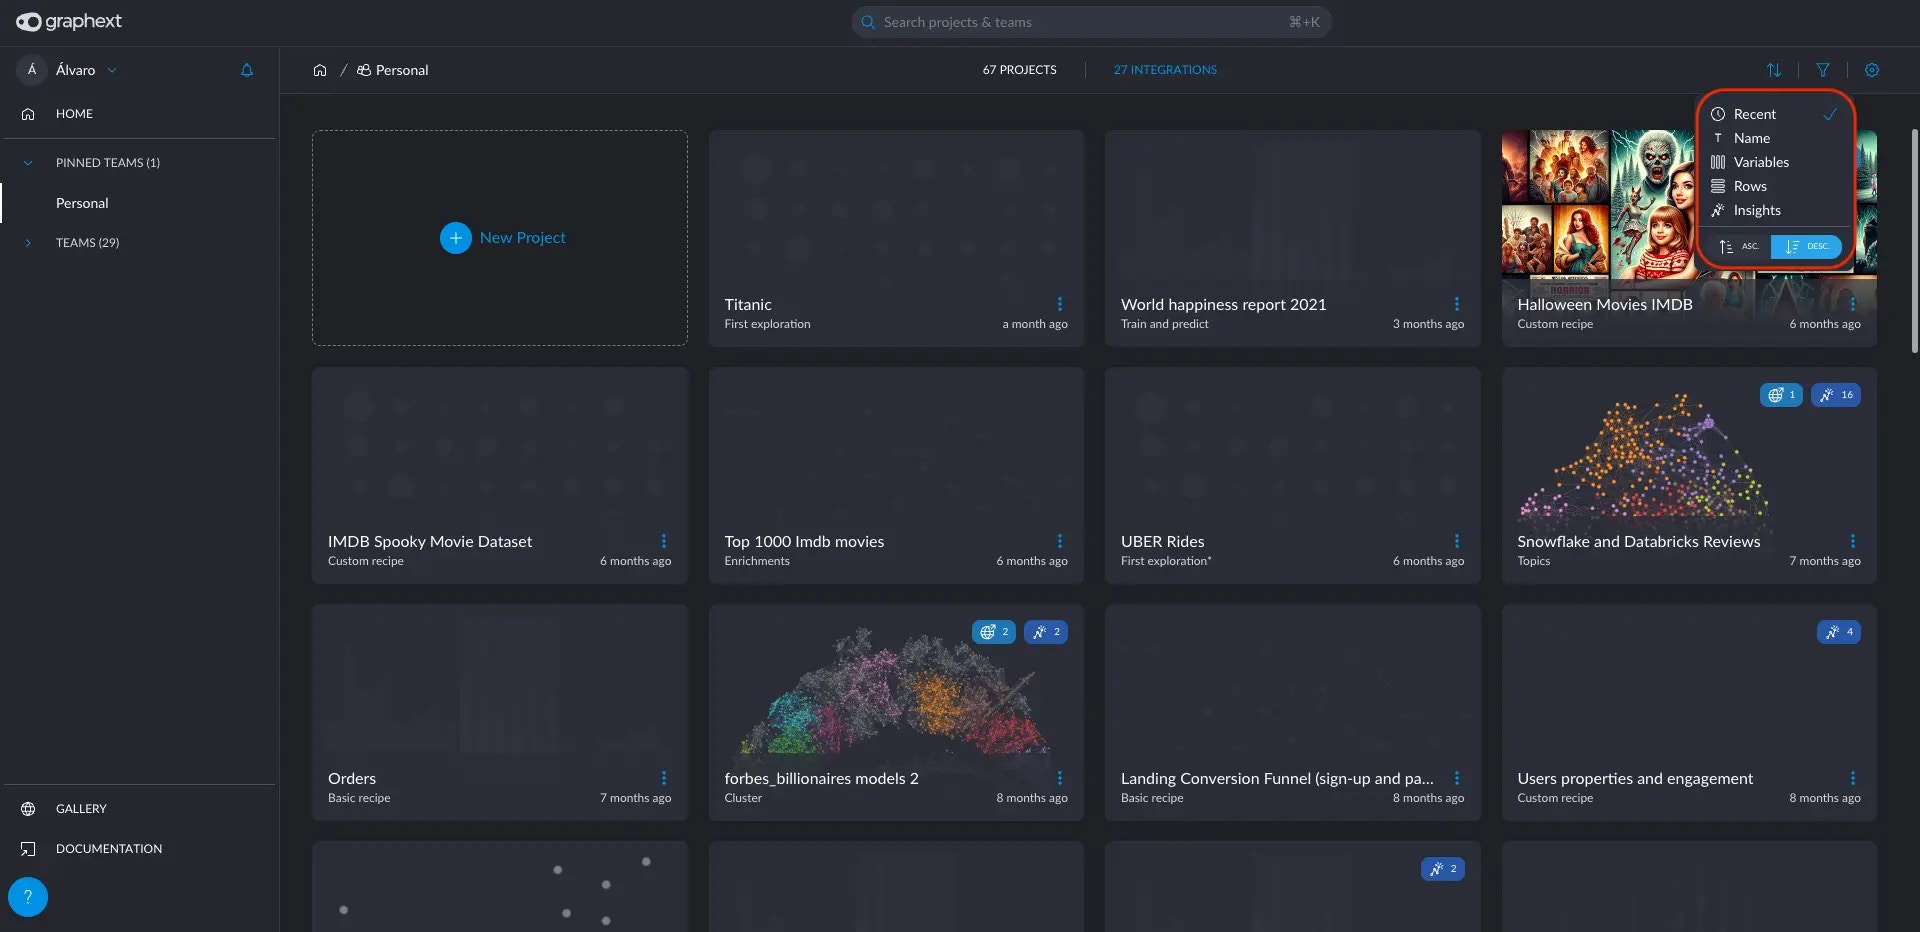
Sort Projects: Also found at the top right corner, you can sort by the date of creation, project name, number of rows or other relevant metrics.
How to pin a project
In order to pin a project, simply hover your mouse over its corresponding card. A thumbtack icon will appear in the top left corner. Click it, and the project will be pinned to the top, always visible.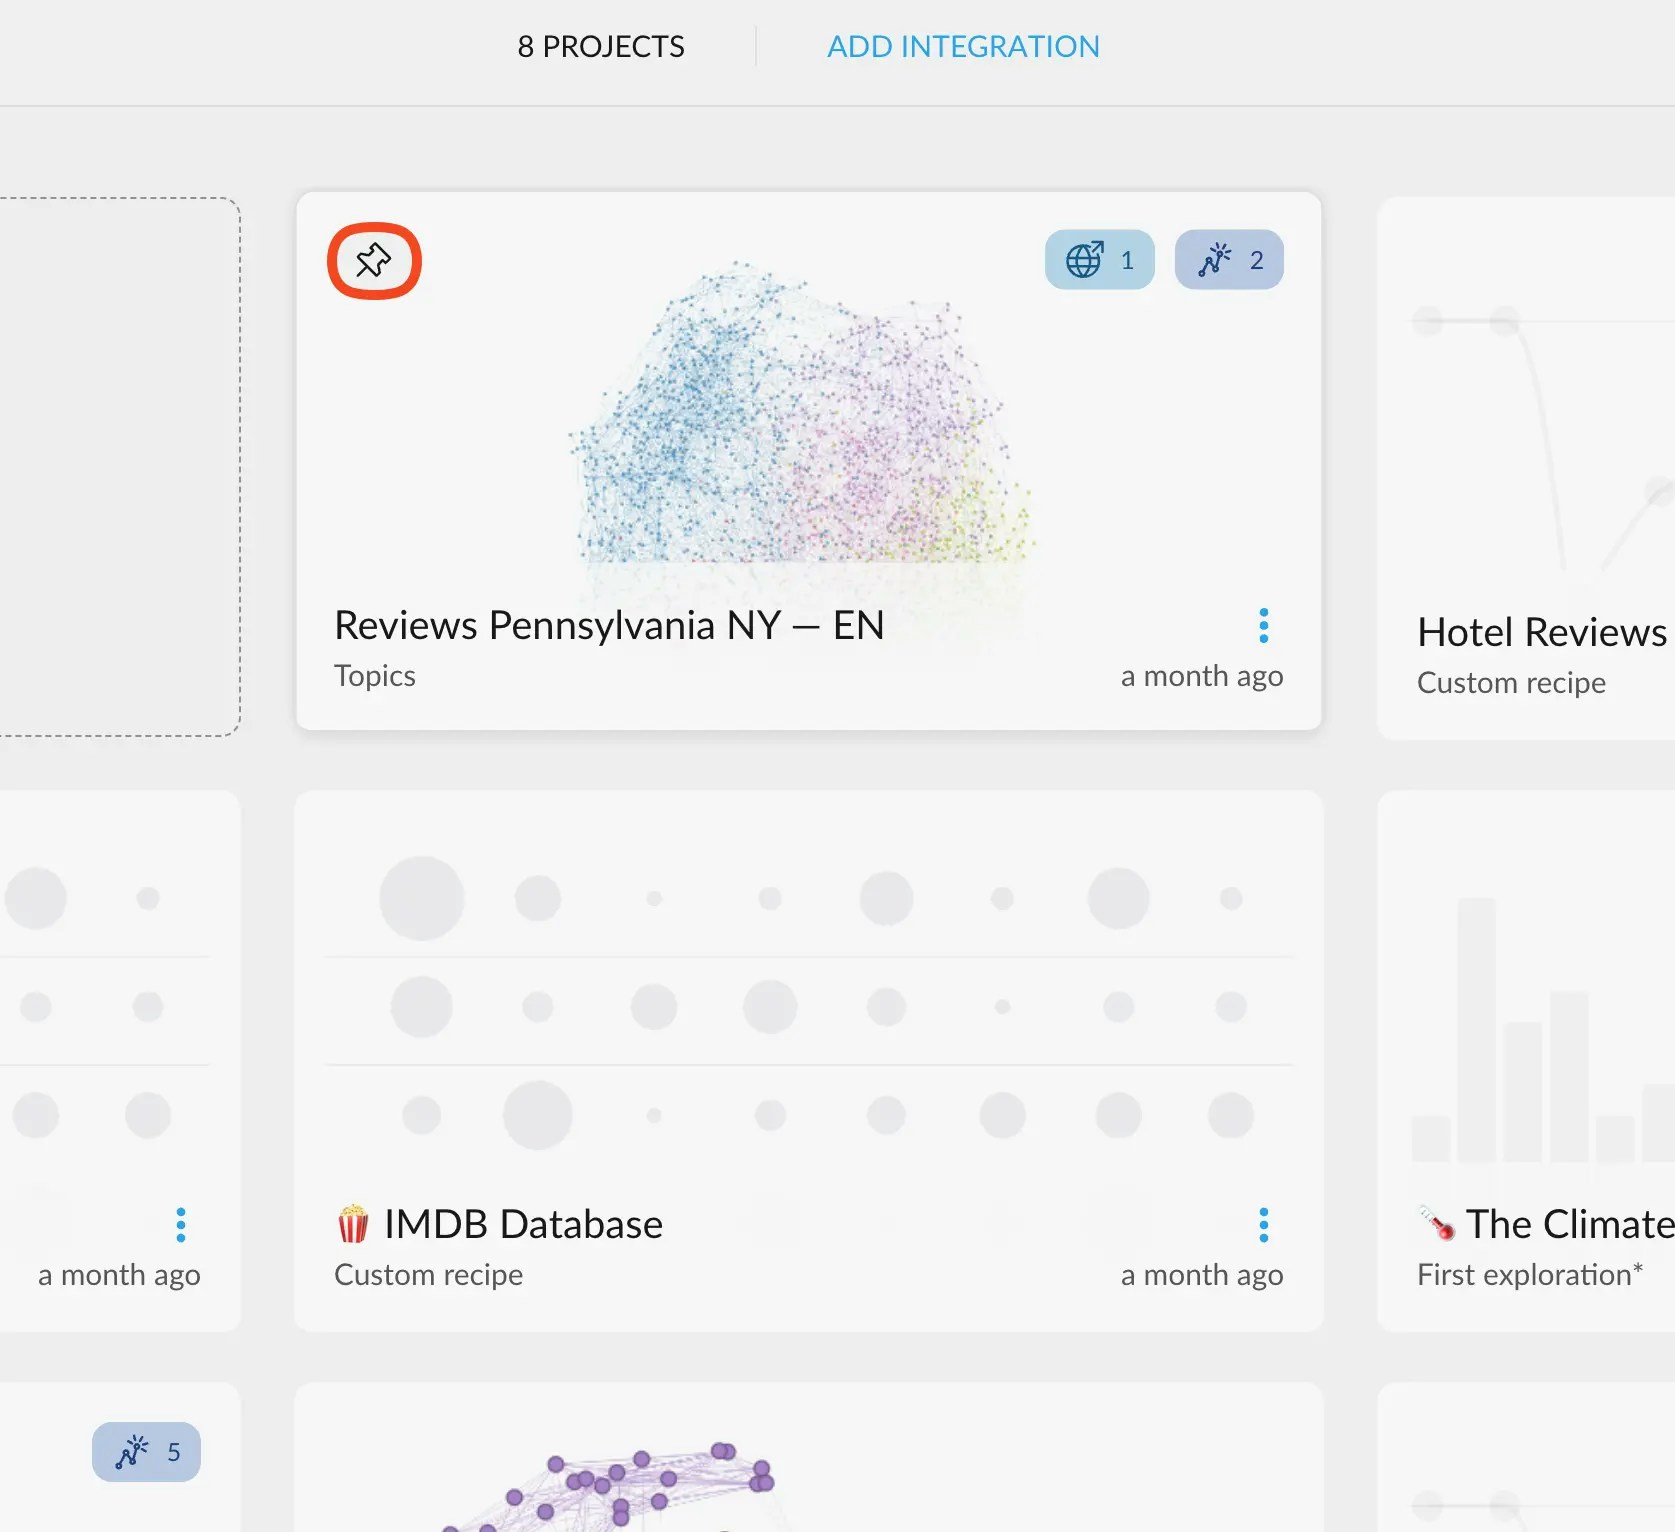
How to rename a project
To rename a project, just navigate to the project card menu and select the “Rename” option. Write the name and confirm the new one. Remember that you can use emojis 😉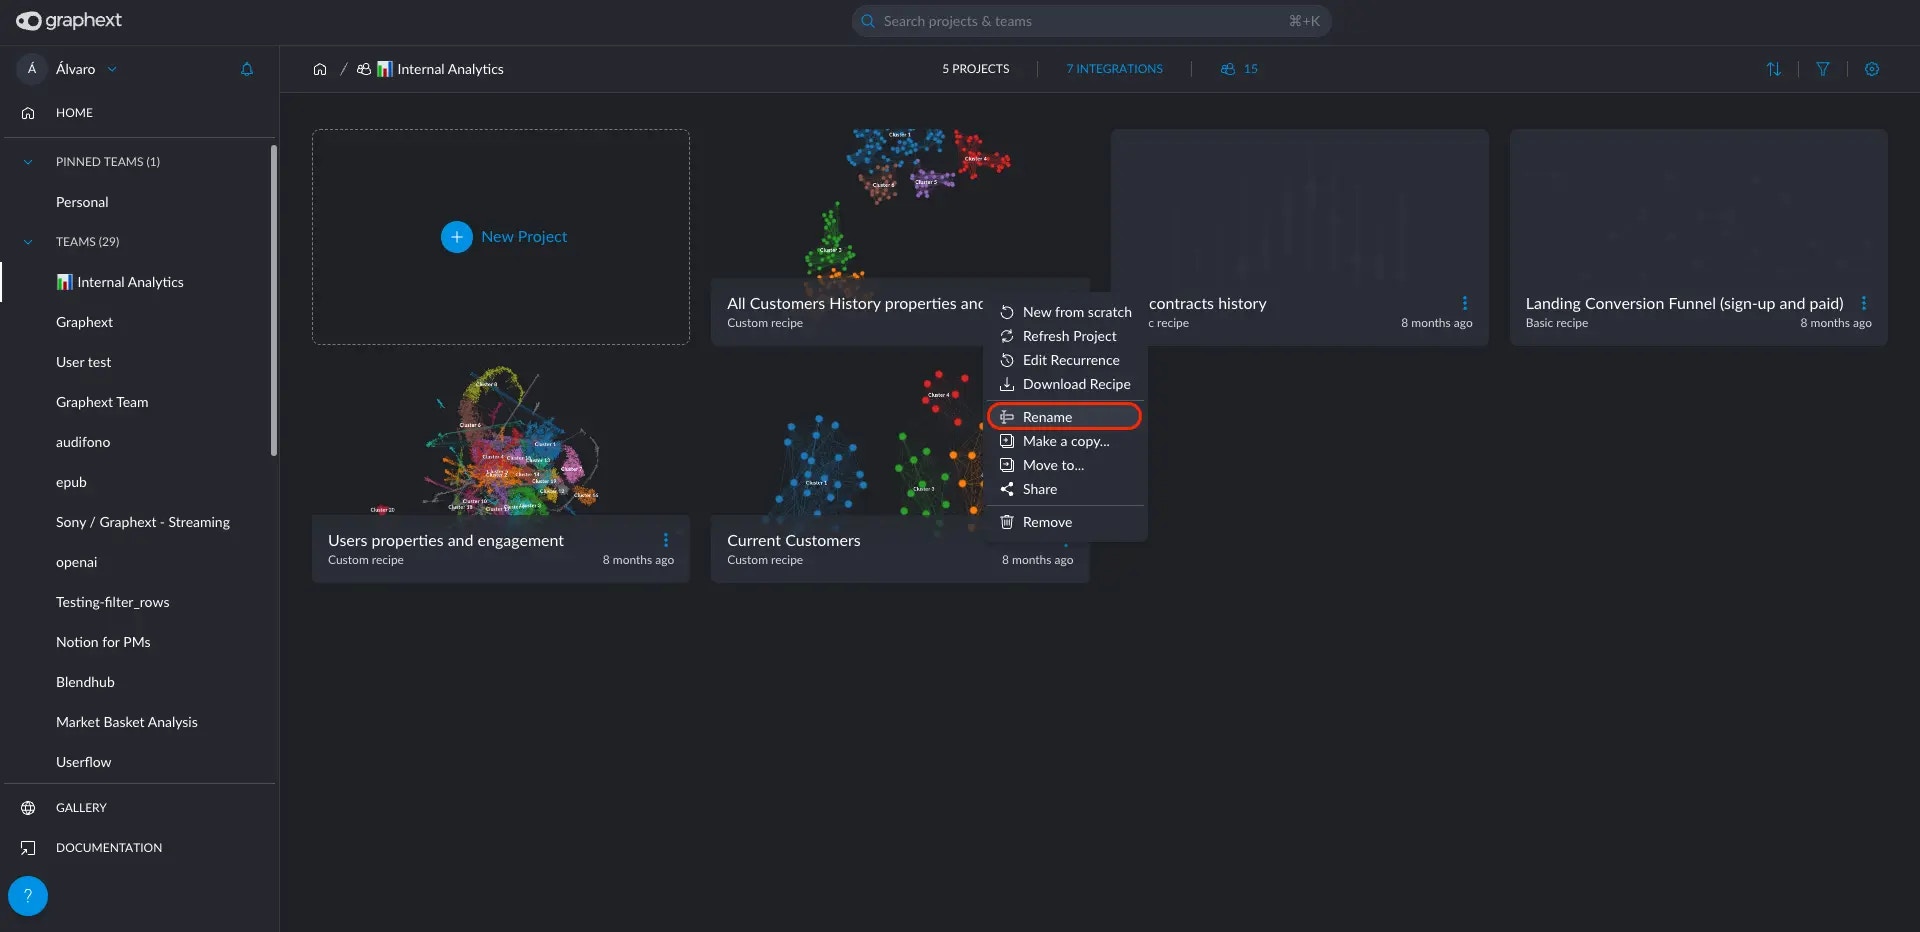
How to make a copy of a project
To make a copy of a project, simply go to the project card menu and select the “Make a copy” option. Choose the desired team from the dropdown menu and confirm your selection.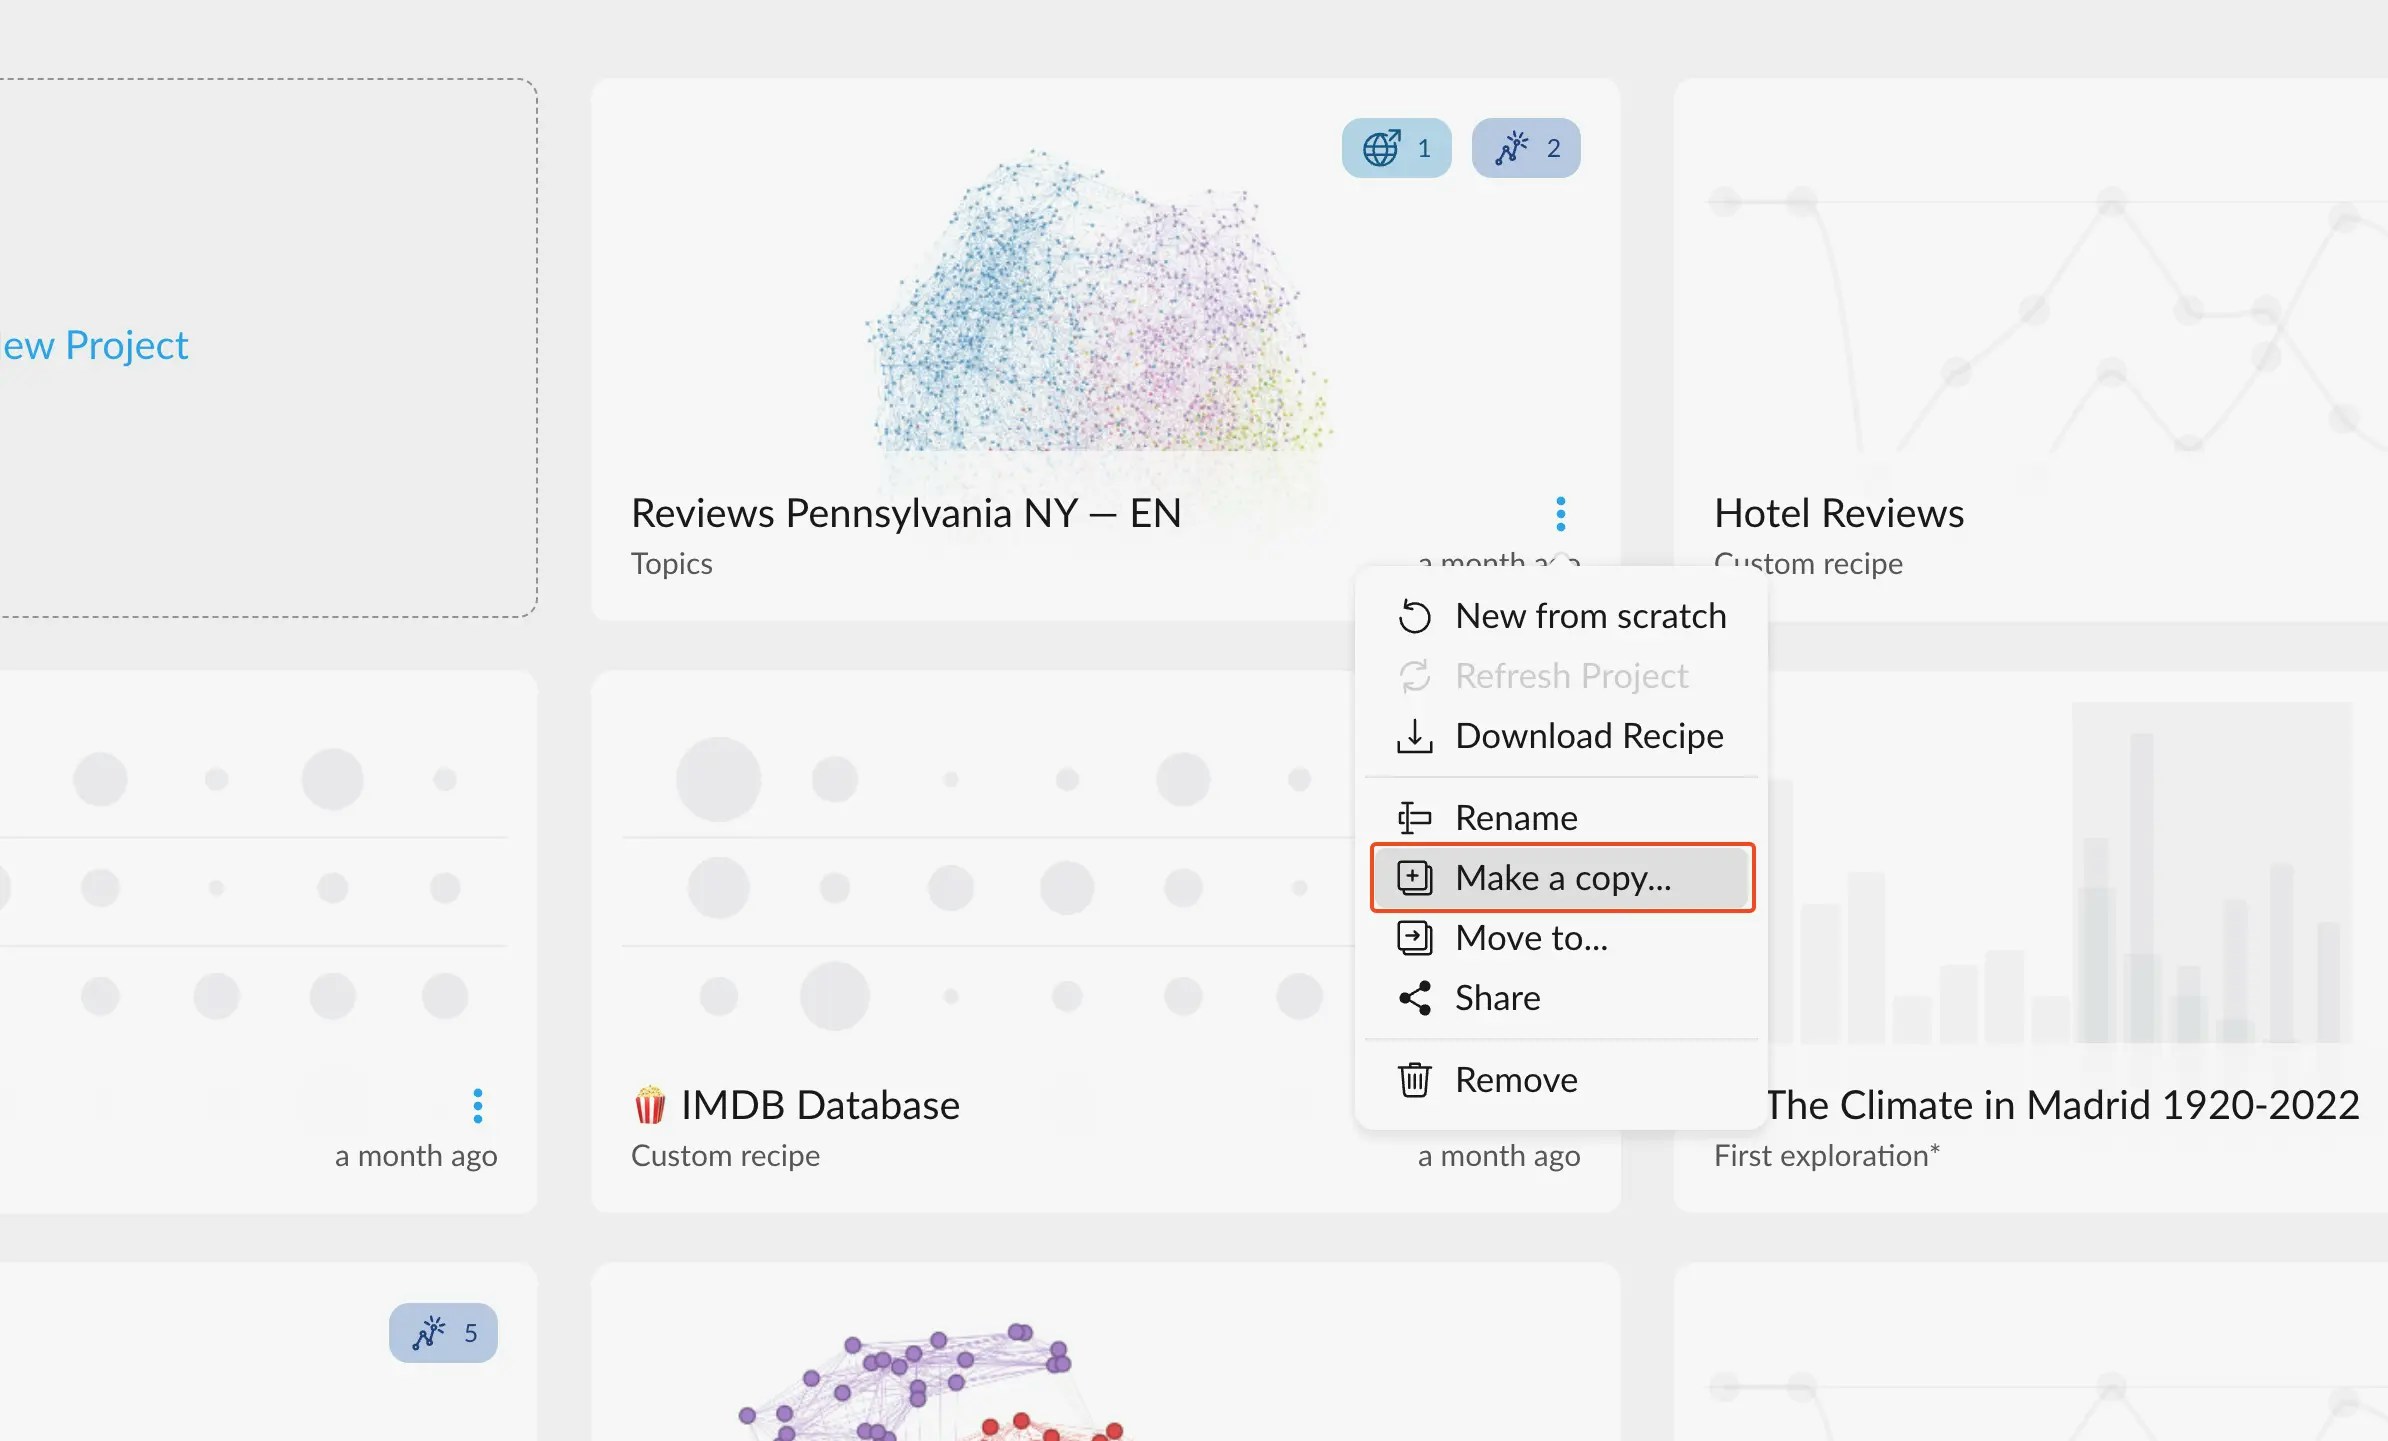
How to move a project to another team
In order to move a project to another team, you can click the three little blue dots on the project’s card and then select “Move to…”. This will ask you to select the destination team of the project.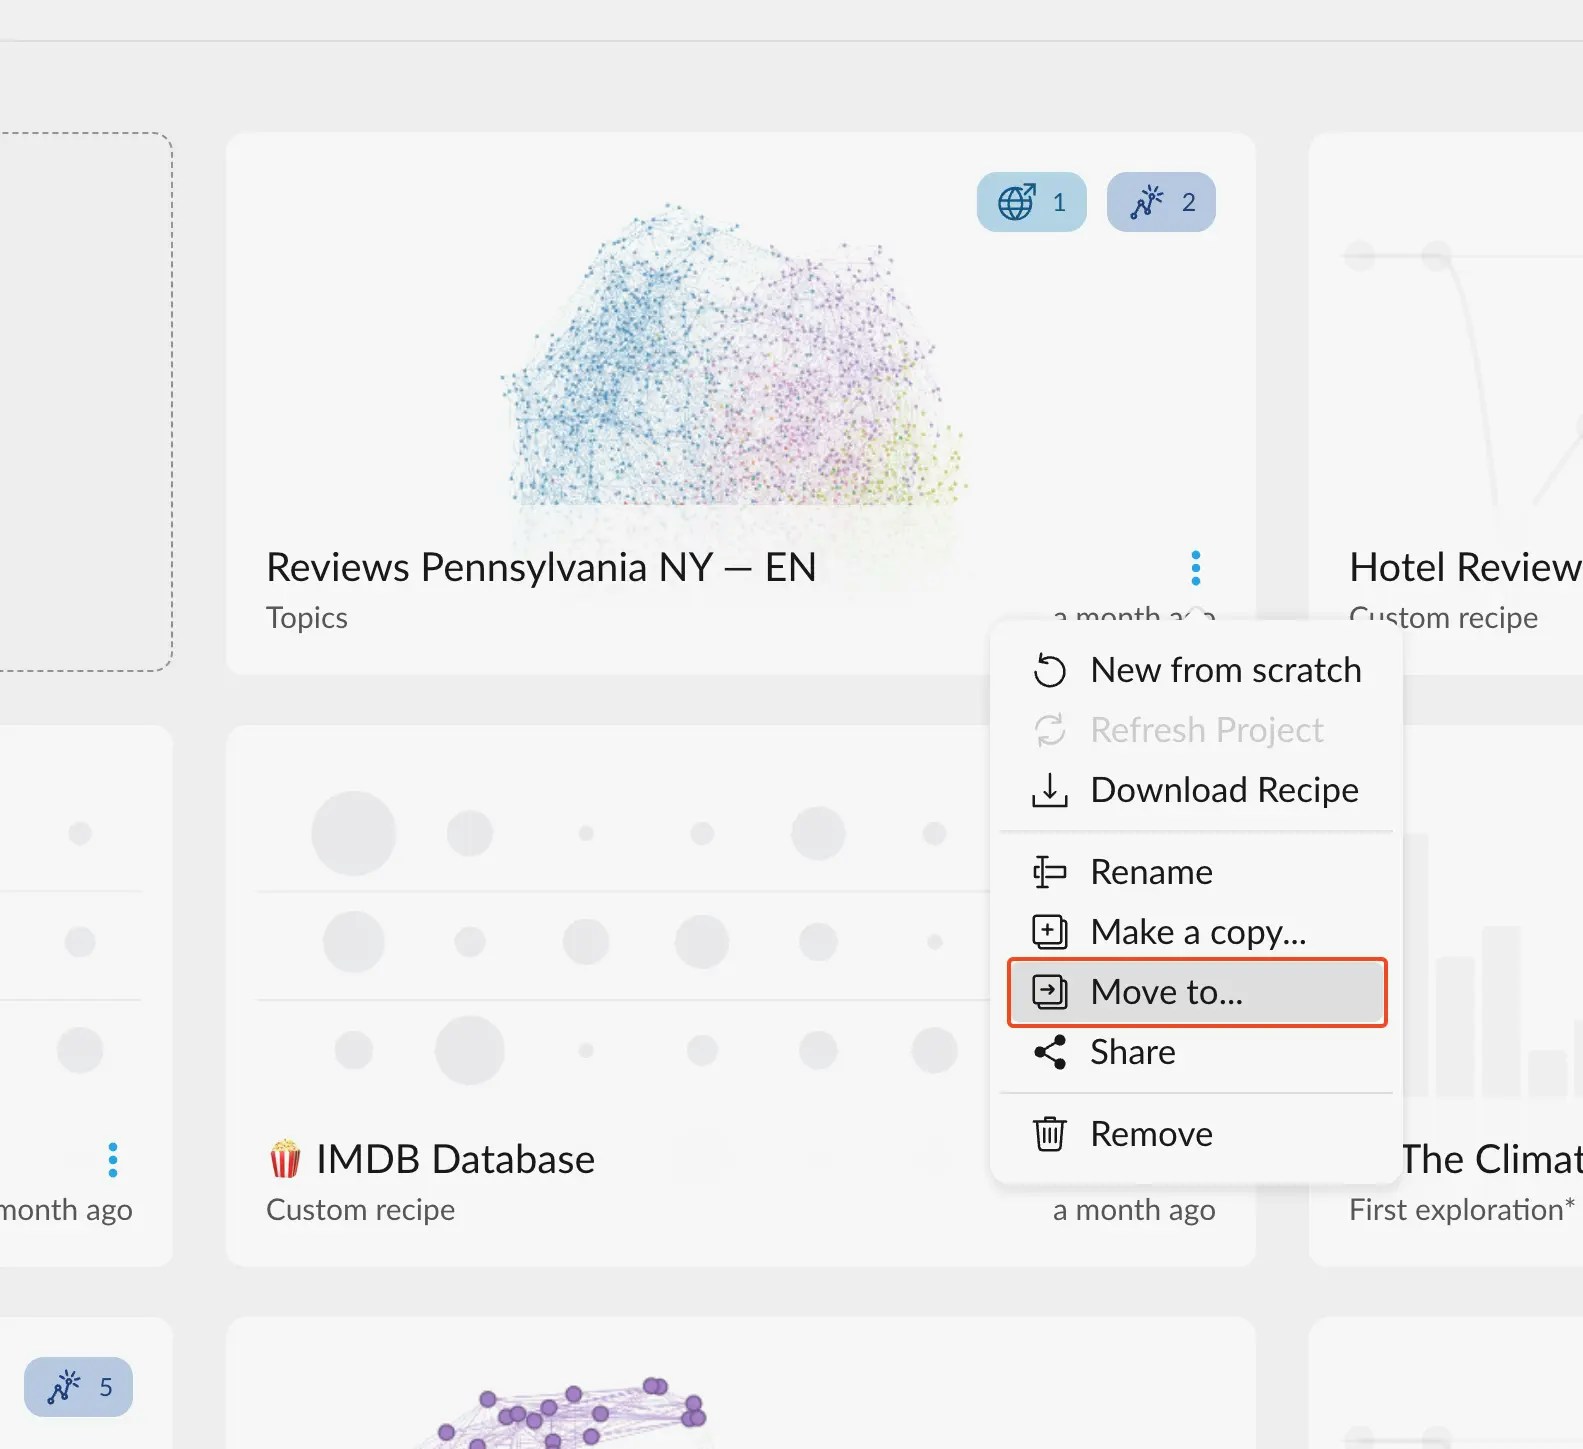
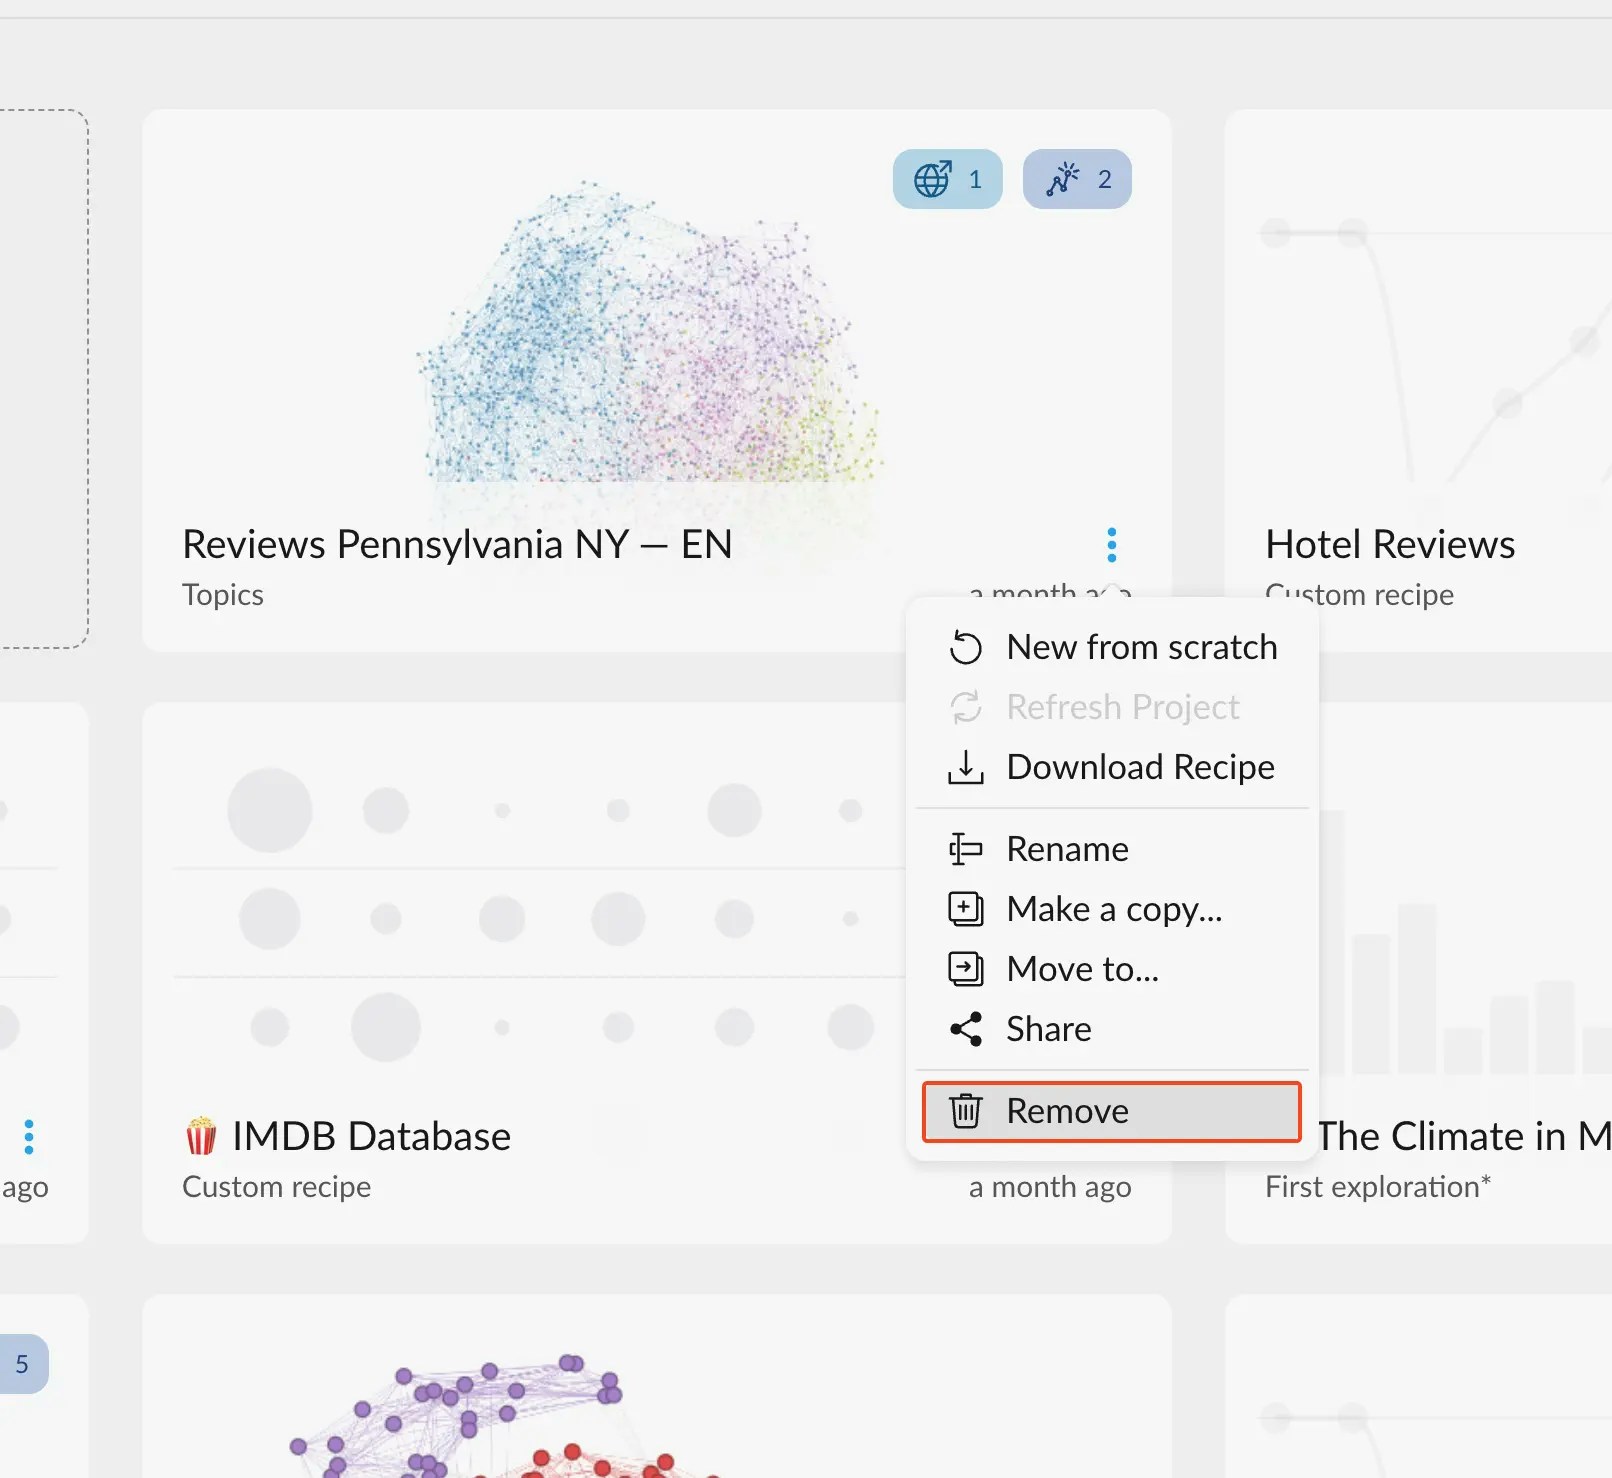
How to remove a project
In order to delete a project, you can click the three little blue dots on the project’s card and then select remove. Confirm if you really want to delete the project before deleting.